On the home page, you will find everything you need for your working day.
Expand the following sections to learn more about what you will find there:
Upper section
Upper section
Profile picture and greeting (1) – shows you that you are logged in.
Active Profile (2) – If you have more than one login profile, the profile you are currently logged into will be displayed in small print below your name.
Sticker collection (3) – here you can see all the stickers you have received.
Notification center - bell (4) – here you will find news and notifications about tickets.
Time tracking in the yellow box
Time tracking
The yellow box is all about time tracking.
Use the start button or stop button (5) to track your time.
Here you can see how long a time has been recording.
When the time tracking is active, you may see additional information here, such as a form or documents.
You can find more information about time tracking here.
Your working day
Your working day
Here you can see all times and schedules for today (6) with work location, time, planned and actual duration, and notes on objects or schedules.
With the Reload button (7), you can refresh without closing the app. You can use this to see if any schedules have changed.
You can use the Translate button (8) to translate notes into your app language.
Menu at the bottom
Menu at the bottom
Use the menu (9) to switch between the different areas of the app:
Home – always takes you back to the home page.
Times – takes you to an overview of all your times, schedules, and absences. You can find more information about times here.
Chat (if activated) – You can find more information here.
Tickets (if activated) – You can find more information here.
The Blink me app offers a translation function at various points.
With a click on the translation button chat messages or object notes can be translated, for example. This translates from the source language into the language used in the app.
Profile
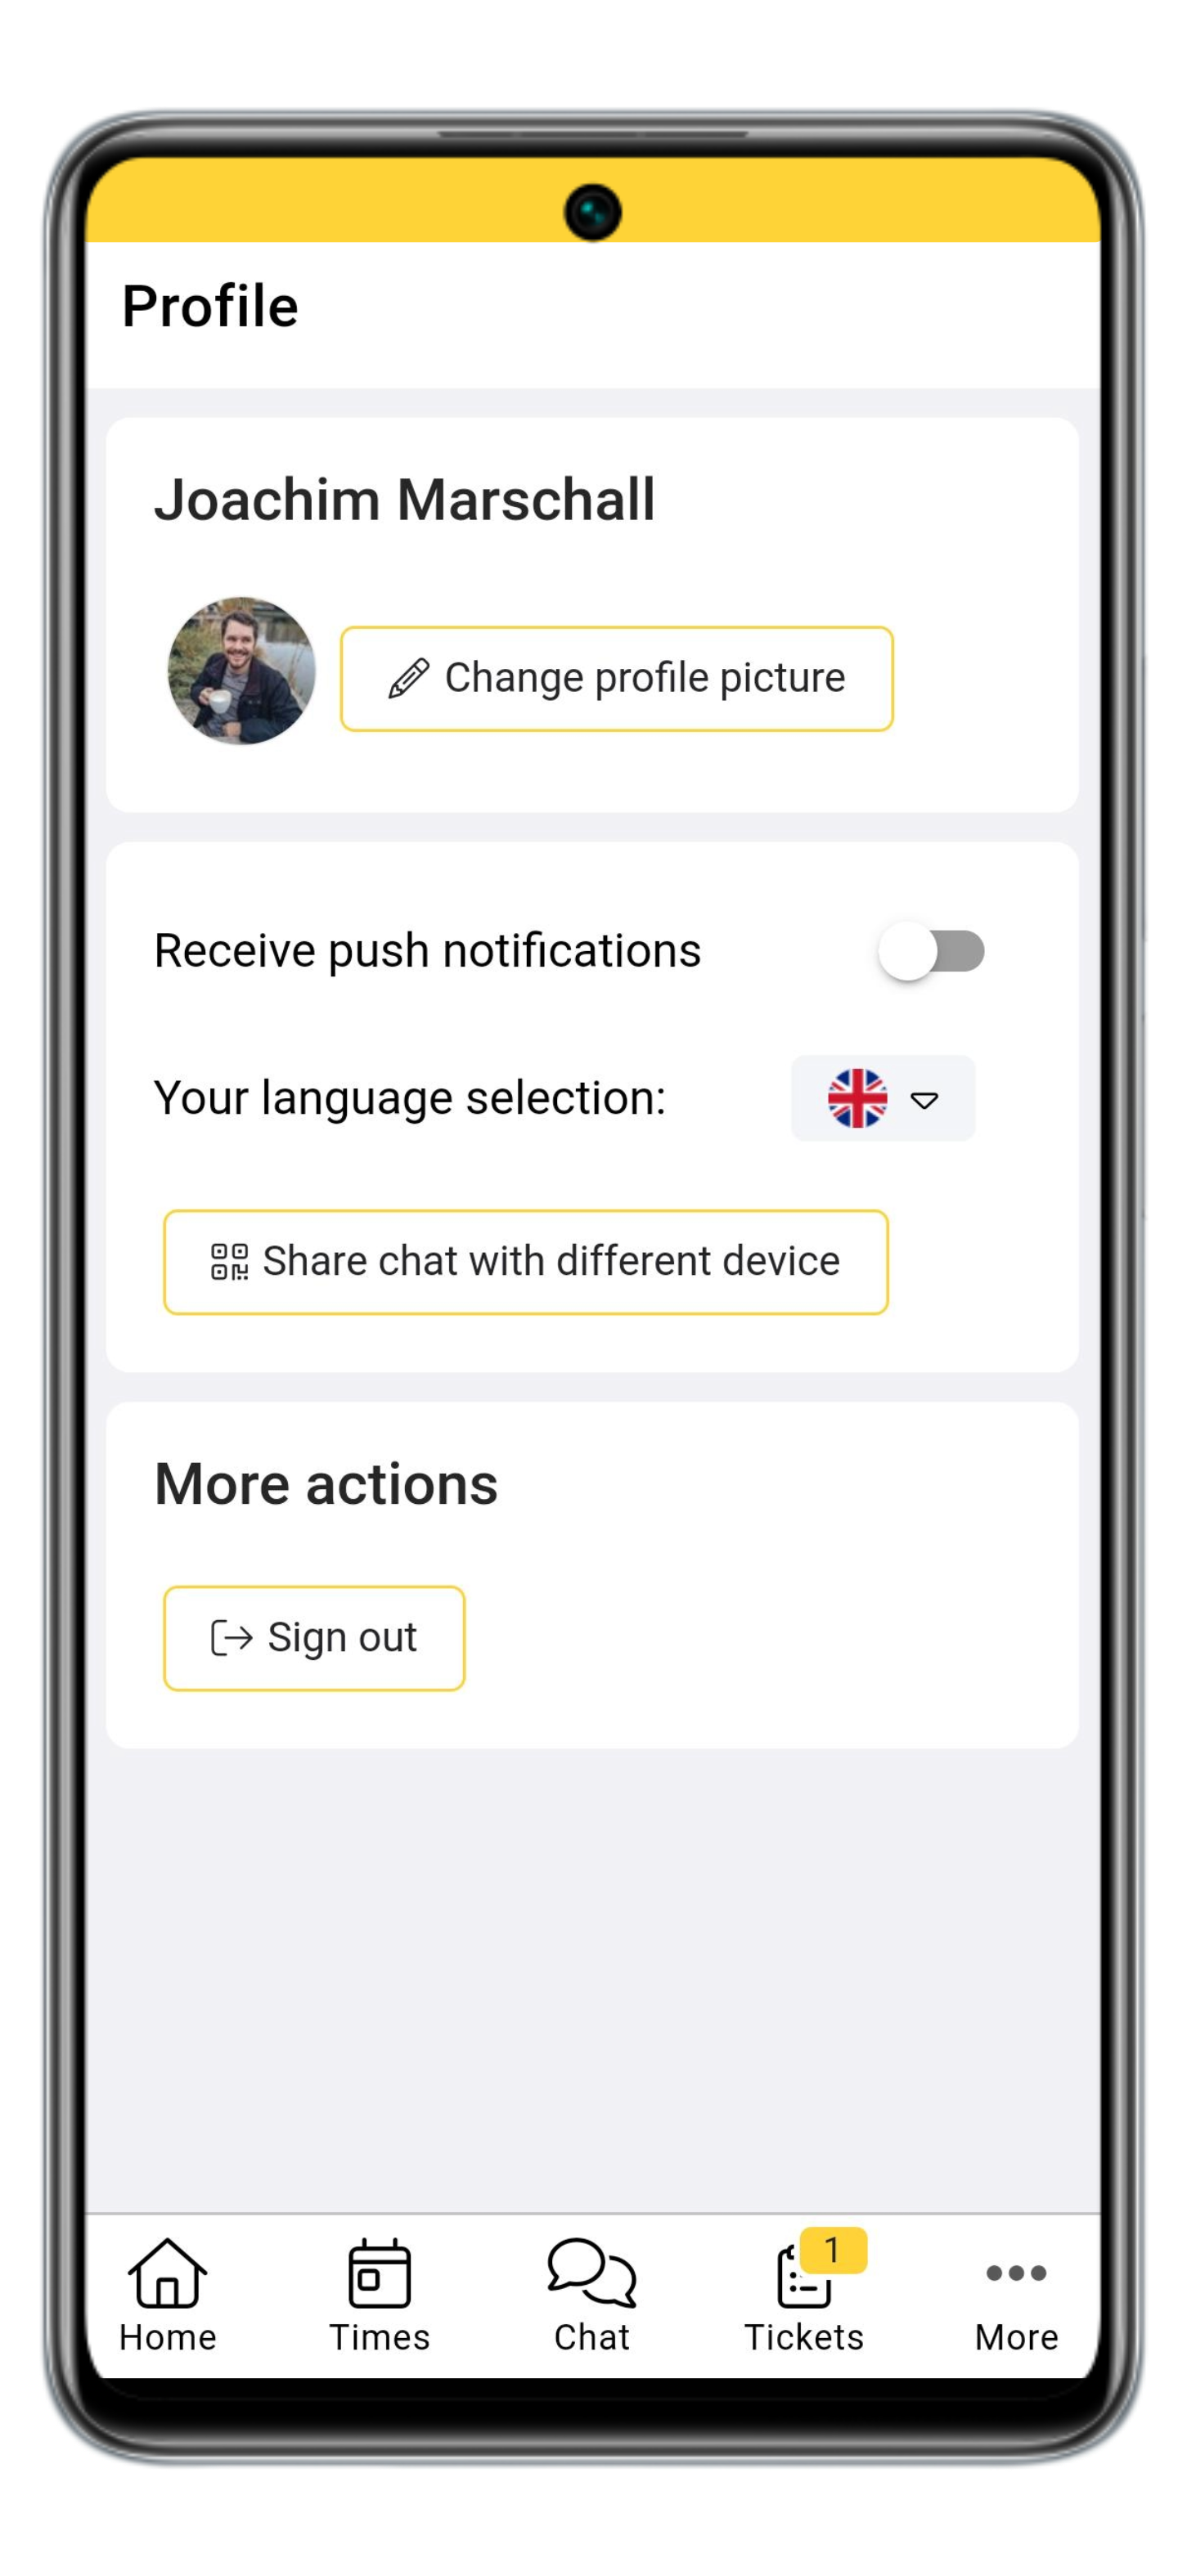
The “More” button on the far right of the menu takes you to your “Profile.” In your profile, you can personalize the Blink me app for yourself.
Expand the following sections to learn in detail what you can set or do there:
Profile picture
Profile picture
The profile picture that is displayed on the home screen and in the chat can be saved and changed here. By default, the profile picture is a random avatar. Click on ‘Change profile picture’ to open the photo gallery or the camera. Once a picture has been selected or taken, the cropping can be adjusted.
The profile picture is also displayed to the team or object leader in the Blink Manager app.
You can also access this setting by clicking on the avatar or profile picture on the home screen.
Login profile
Login profile
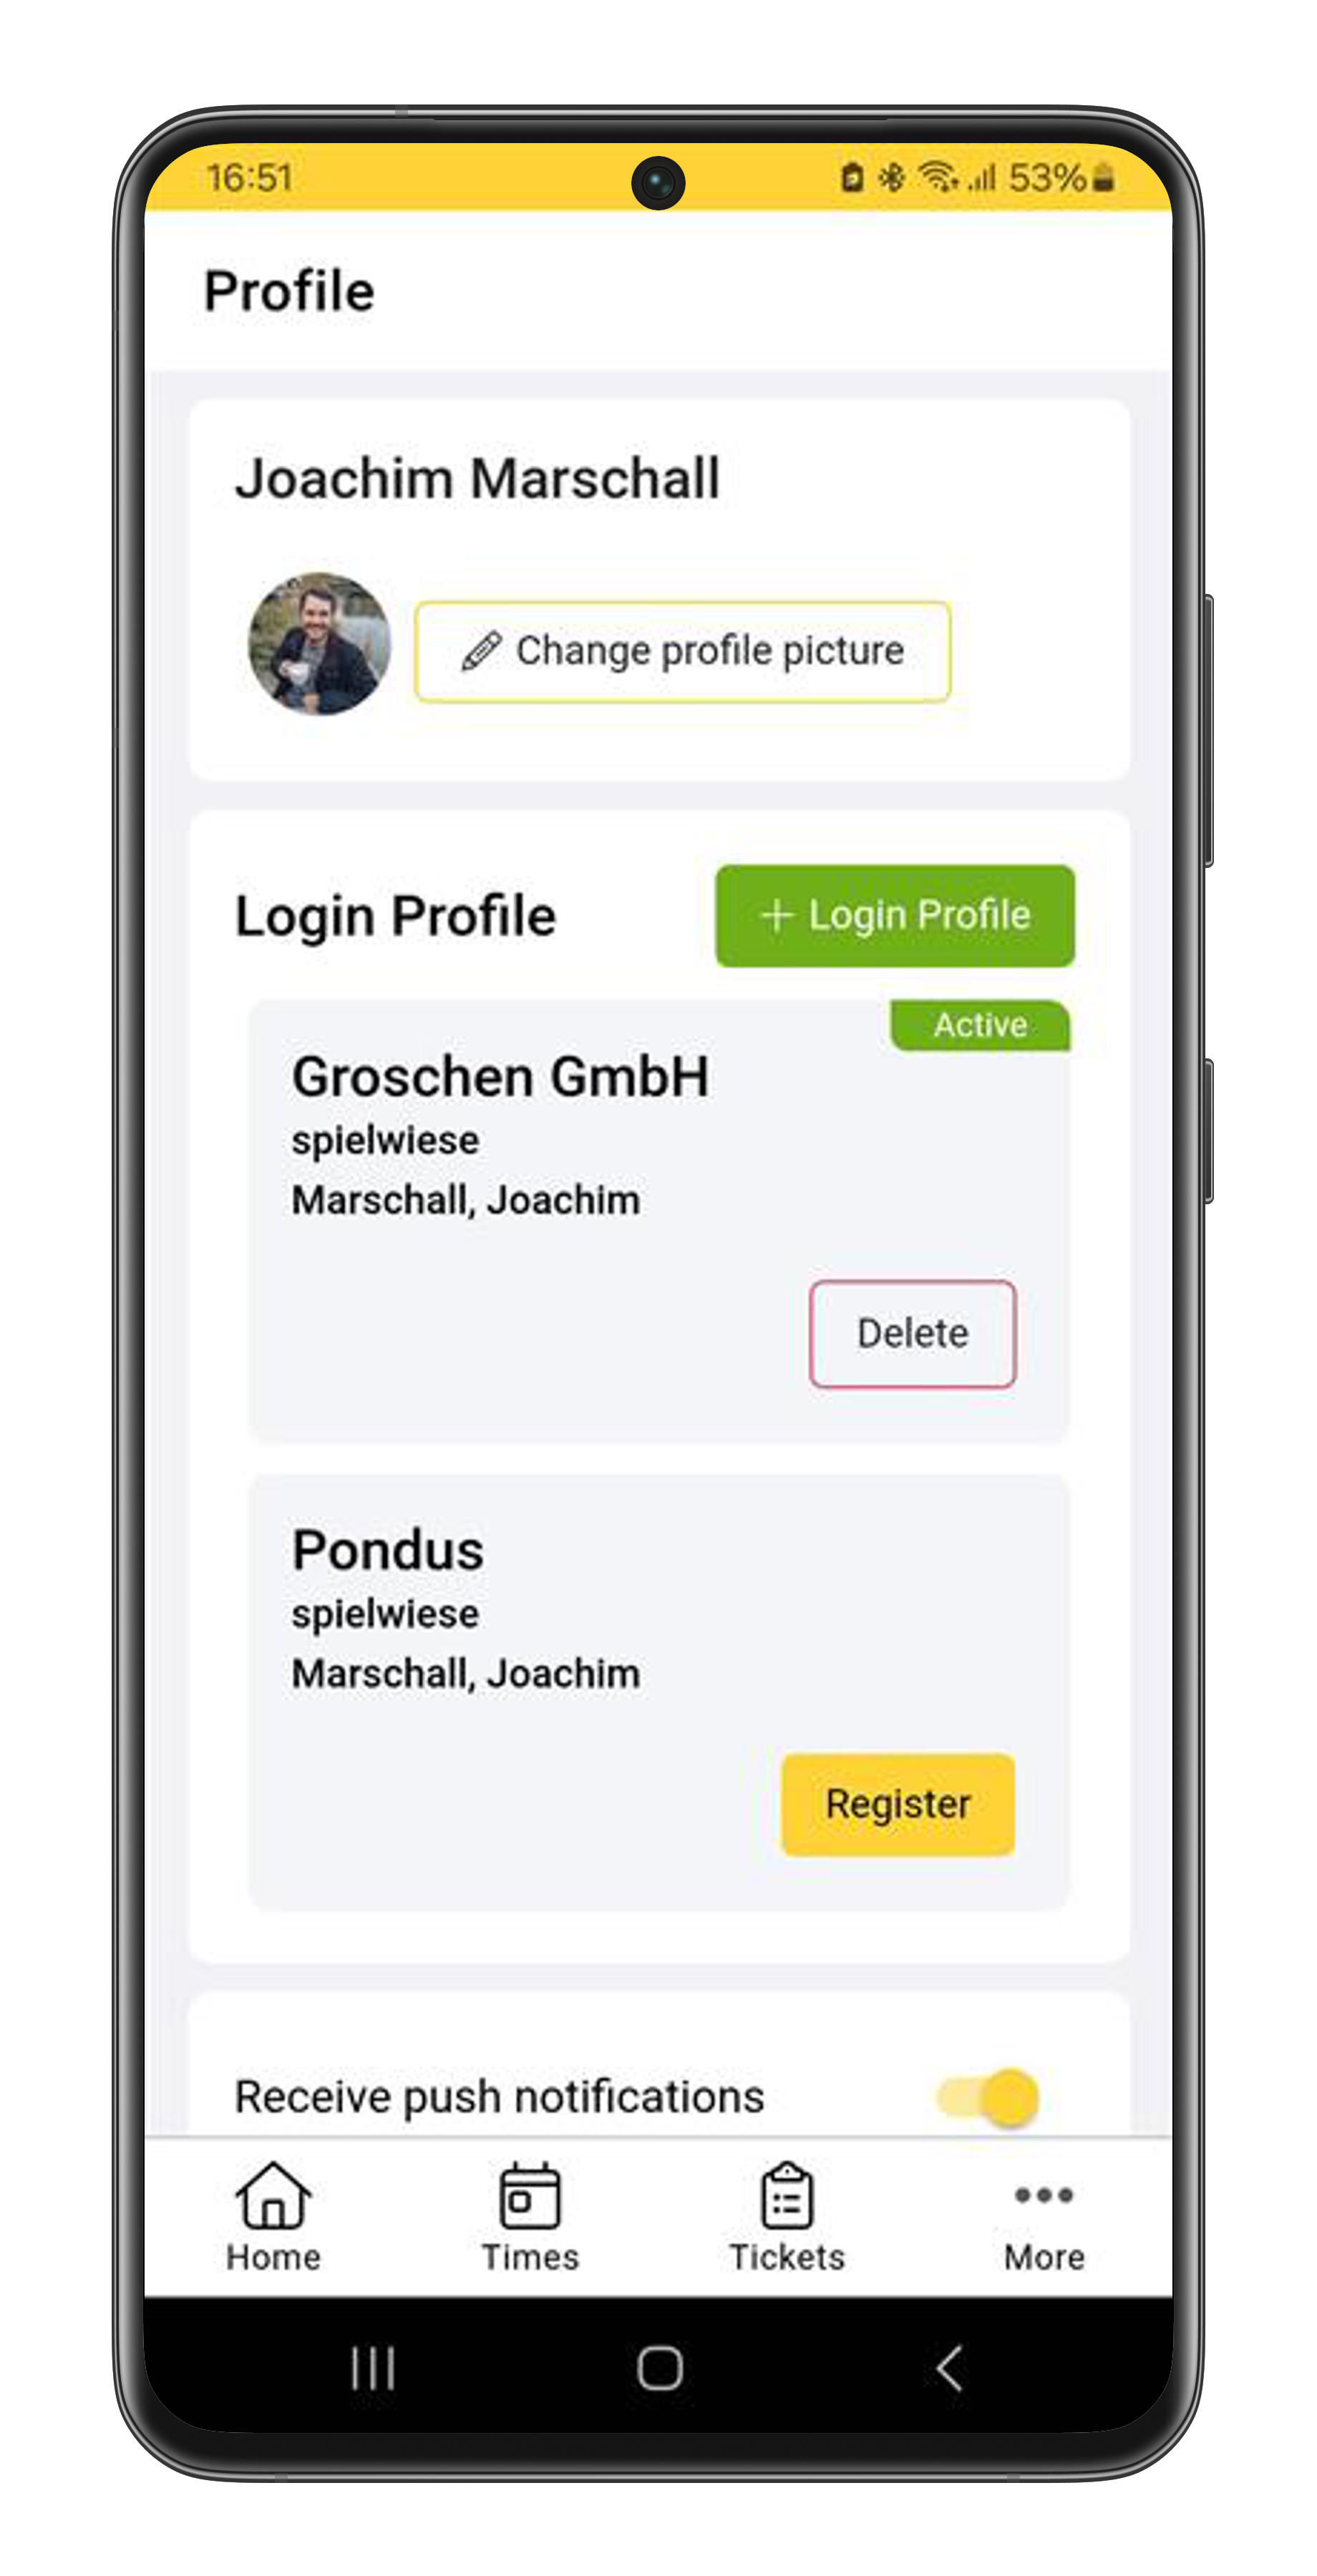
Here you can create additional Blink profiles and switch between Blink systems or clients. You can always see which profile you are currently logged into with the status “Active”. You can switch to another profile via “Register”. To create another profile, click on the green “+ Login Profile” button and then log in as normal by scanning your Blink ID card. You can have push notifications and chat for each individual profile.
If you have more than one login profile, you will see in small print below your name on the home page which profile you are currently logged into—for example, “Profile: Groschen GmbH.” This allows you to see at a glance which company you are currently working with.
Push notifications
Push notifications
You can use the slider under “Receive push notifications” to set whether the Blink me app is allowed to send push notifications, which are then also displayed when the app is closed.
For example, this is helpful to be informed immediately if you have been scheduled as a substitute or if changes are made regarding your ticket.
Language selection
Language selection
Here you can choose from one of the 21 available languages for the app. Planning notes, employee notes and chat messages are then also translated into the selected language if the translation function is used.
Share chat with another device
Share chat with another device
If the profile is set up on a new device, the chat can be shared with the new device using the QR code or the personal chat code (more on this here). This option is only visible once a chat has been set up.
Log out
Log out
Here you can log out of the Blink me app completely. Please note: When you log out, all local data, profiles and chat histories will be deleted. If you want to use the app again, you will need to register again with your Blink ID.
Help
Click on ‘More’ in the menu on the far right to access the ‘Help’ section.
The following information can be called up or actions can be carried out here:
Info, data protection and support
Information about the user and the current system, such as the app version, can be found under Info. This information may be relevant when communicating with support.
This online documentation can be accessed directly in the Help and data protection section and the Blink data protection declaration is also linked.
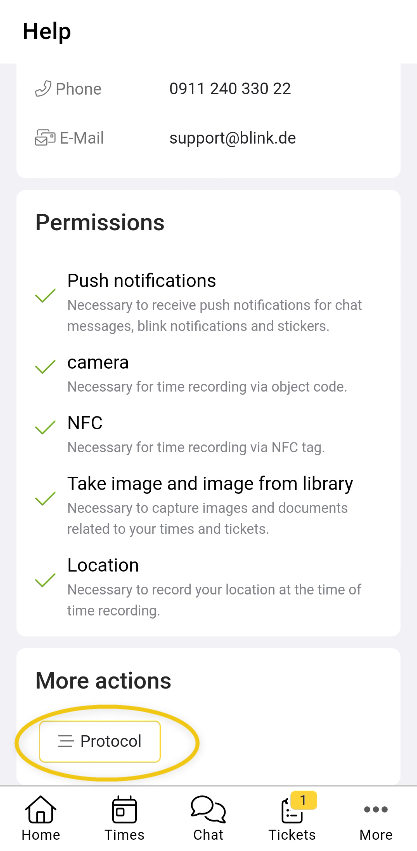
Under ‘Support’, the user can find the contact information to get in touch with the Blink support team by phone or email.
Persmissions
The permissions section shows which authorisations have already been granted to the app. As a rule, the necessary permissions are requested the first time they are required for a certain function (e.g. access to the camera when a QR code is scanned). If a permission is missing, it can be granted directly here.
Log function / protocol
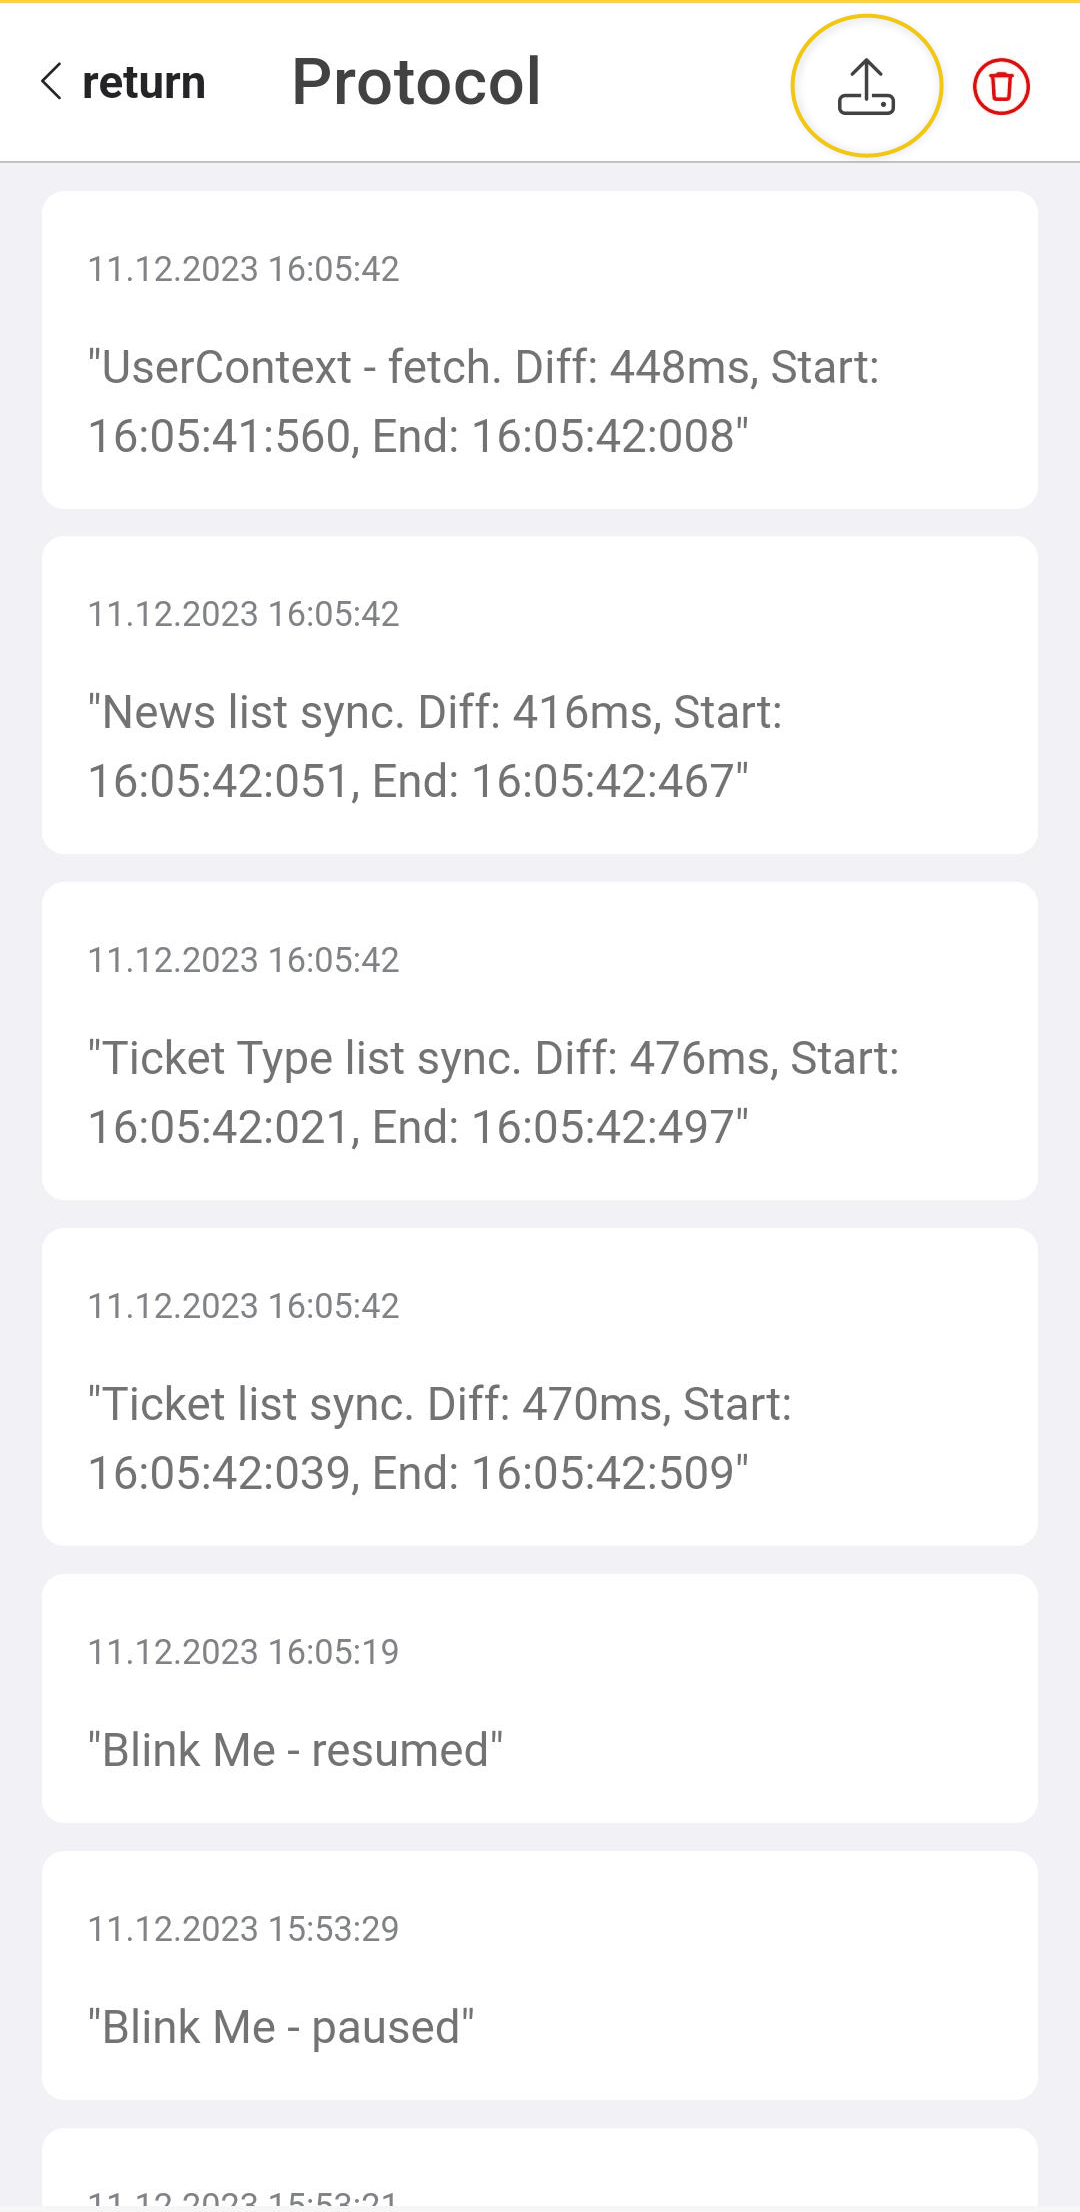
At the bottom of the ‘’More actions‘’ section is the Log function, in which the system saves all technical app processes. The texts are not relevant for the user themselves, but provide important information for the support team: The log can provide information about where a technical error may have occurred.
If something is not working with the app, it may therefore be necessary to provide the support team with this log information:
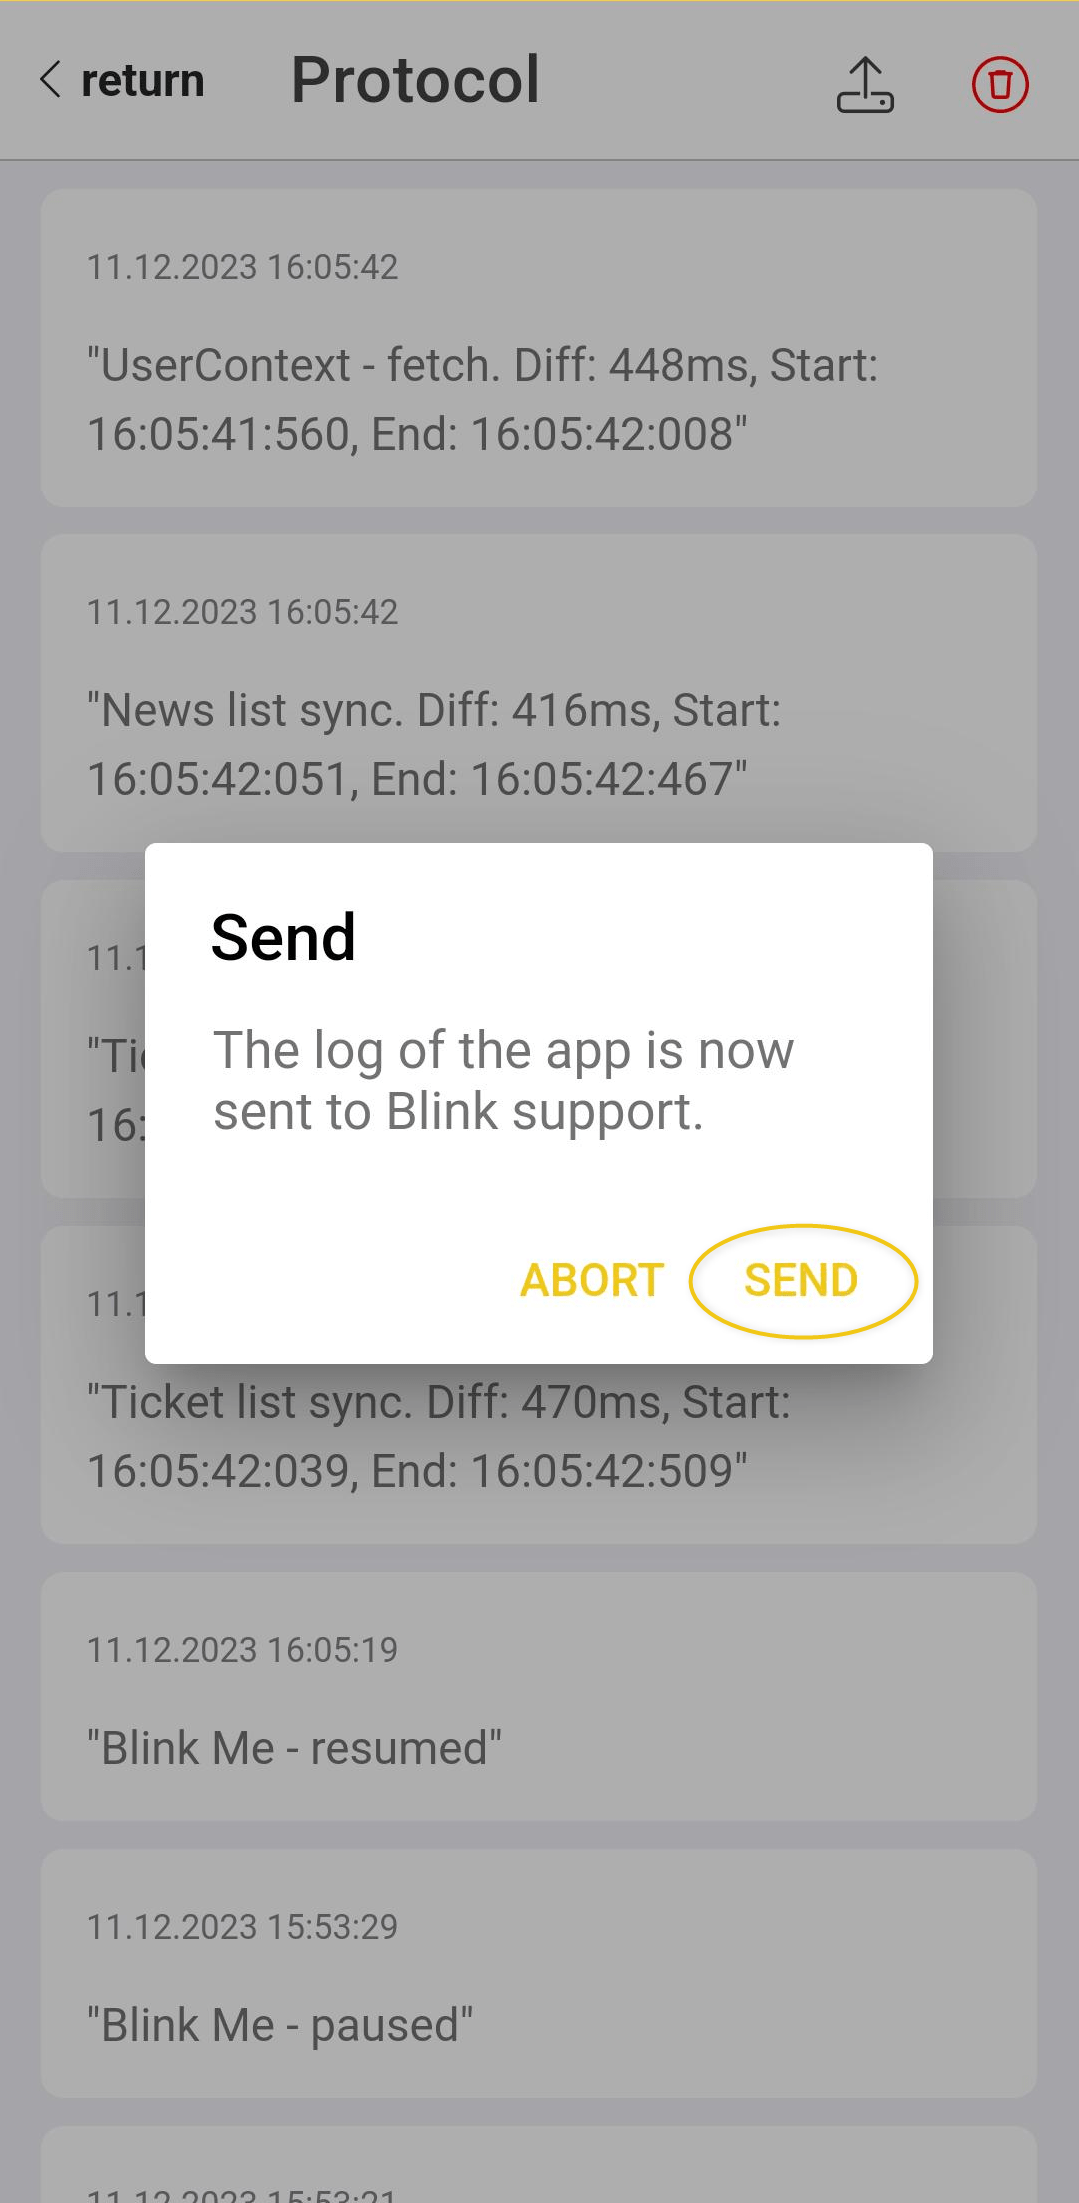
To do this, scroll all the way down to the ‘More actions’ section and click on the ‘Protocol' button. At the top right of the page you will find an upload button. Click on it and confirm with ‘Send’ in the pop-up window.
.png?cb=58860972d9756bf2a123f280b3bba9b6)