Skip table of contents

Times and schedules

Time recording

Digital time tracking is easy with the Blink me app. Here we show you how time tracking works with the app, how times can be checked and how schedules can be viewed.

Start & Stop

Time tracking is launched via the home screen. There is a green start button in the yellow box, which is used to start time tracking. Clicking on the button opens a dialogue with various options for time tracking.

To use time tracking via QR code scan, click on ‘QR code’ and then capture the object code with the camera that opens. Time tracking is now in progress.
The timer, the object name and the start time are displayed in the green framed box.
If an employee note is stored for the scanned object, this is now immediately displayed in full on the home screen and can be translated if necessary.

Blink me_Start und Stop_Englisch.gif

During time tracking, a bar is displayed at the bottom of the screen when switching to other areas of the app, indicating that time tracking is in progress and when it started. Time tracking can also be stopped directly from there.

Time tracking is ended by pressing the red ‘Stop’ button on the home screen and capturing the object again.

For time tracking via NCF, the mobile phone is held up to the NFC sticker.
If enabled, time tracking can be done without an object code, e.g. if an object code is missing in an object. If you stop time tracking without an object code, you must enter a comment before the time can be saved.

Offline time tracking

You can also record track times offline. As soon as a network connection is re-established, the times are transmitted automatically. You will see a message on the home screen if times recorded offline have been saved but not yet transmitted.

Unbenannt-1.png
Continue working

The ‘Continue working’ function is designed for two cases in time tracking:

  • You are working consecutively in two different objects and the travelling time is to be taken into account. The ‘Continue working’ function allows you to ‘start’ in the first object and only ‘stop’ in the second object. A dialogue is then displayed in which the cleaner decides whether to continue working or to stop.

    Blinkme_Arbeitsweg_Weiterarbeiten_Grafik Englisch.png
  • You have different services in one object, for each of which separate time tracking should be carried out. The ‘Continue working’ function can also be used to switch between services. To do this, first scan QR code 1 in the object. If the service is to be changed, then only QR code 2 needs to be scanned and ‘Continue working’ selected. The time continues to run on the second service.

Important: Please clarify with your line manager whether, when and how this function should be used.

Confirm target times

In the system, ‘Confirm target times’ can be set as the time tracking type for the employee. With this type of time recording, the employee confirms at the end of their working hours that they have been completed as planned.

To do this, the employee clicks on ‘Record time’ in the yellow time tracking box on the home screen and uses a QR code scan or NFC to record the object in which they worked. The employee then confirms the target time by clicking on ‘Yes, that's right’.

Sollzei bestätigen_Englisch.gif

When confirming, the employee can also correct the duration upwards or downwards. A comment must be added to this correction in order to save the time.

If no work is planned, e.g. because a staff member has been taken on as a stand-in, a time can still be entered. After clicking on ‘Confirm time’, the duration is entered directly and must be provided with a comment in order to save it.

Record times manually

You can specify in the system whether or which employees can also record times manually. If this is enabled, the employee will see a "+Record time" button on the home screen of the Blink me app or a green "+Time" button at the top right of the time page.

If the employee clicks on this, a dialogue for object selection opens. Depending on the settings, an object can then be selected from a list or assigned via QR code scan or NFT.

In the next dialogue for time tracking, the employee can

  • select the service activity (if service activities have been assigned to the object),

  • select the date (max. back to the 1st of the previous month, from the 11th only to the beginning of the current month) and

  • set the time.

Unbenannt-1 (1).png

The system calculates and displays how many hours have been recorded with this entry and also how many hours may have already been recorded for the day. The entry can then be saved by clicking on ‘Confirm’.
If you activate the ‘Record another time for this object’ button beforehand, the dialogue with the selected object remains open after saving and another time can be recorded.

Times

The Times section provides the employee with an overview of his working times, schedules and absences:

  • marked in green marked are logged hours

  • marked in blue marked are planned hours

  • marked in yellow marked are absences (vacation, holydays, sickness etc.)

  • marked in red are problems (planned time without corresponding time entry)

  • marked in gray are days for which neither time logging nor planning are saved

The period for which times and schedules are to be displayed can be selected for Today, Current week, Current month or a user-defined period. The arrows can be used to jump forwards and backwards in the period.

In the lowest area, the employee gets an overview or summary for the selected period with the sum of planned times, worked hours, hours according to the contract and the difference.

Unbenannt-1 (2).png

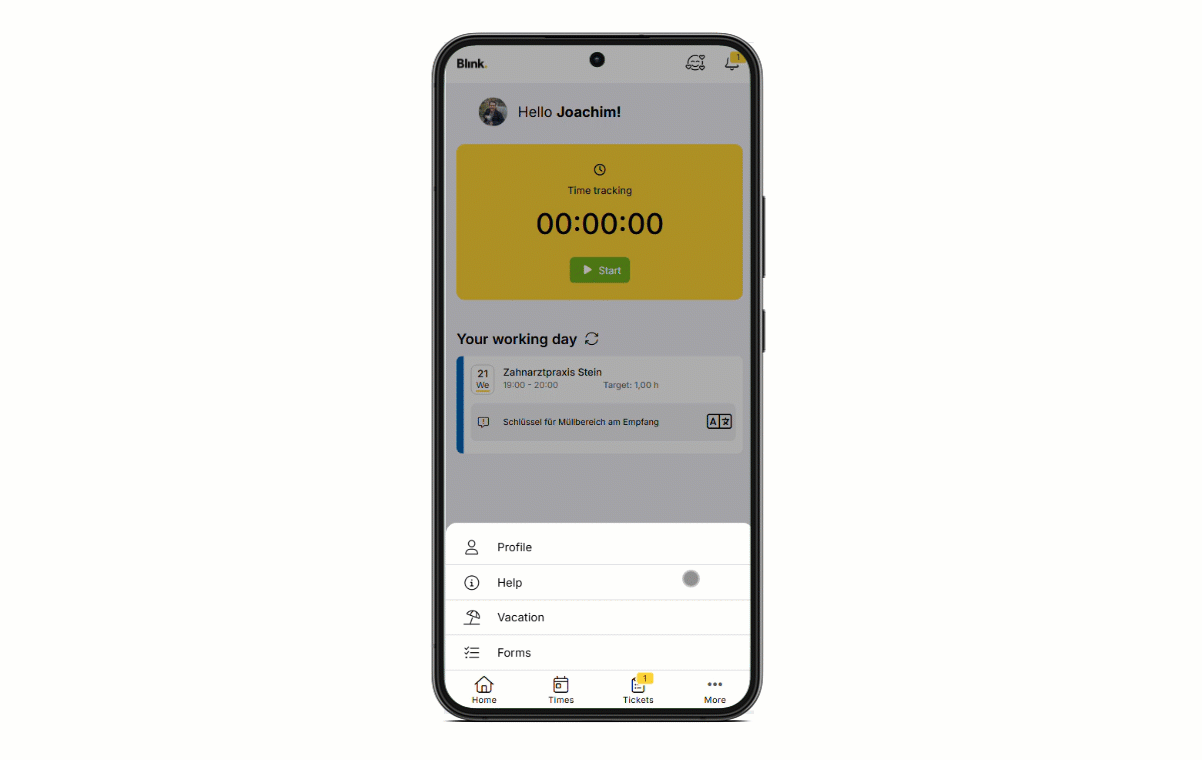
The following is displayed in the individual entries:

  • the location

  • The logged or planned time

  • Target hours and actual hours

  • A paper clip indicating that the entry contains an attachment

  • A speech bubble indicating that the entry contains a comment

  • Absences are differentiated by name and icon

With a click on the entry

  • comments and attachments can be added for logged times and absences

  • details of the location can be displayed with a route planner for scheduled times

Vacation

Click on ‘More’ in the menu on the far right to access ‘Vacation’.

Unbenannt-1 (3).png

Here, the available vacation days are displayed for each year, as long as the contractual annual leave days are saved in the employee's master data. If the vacation days are not saved in the master data, the total of the booked vacation days is displayed.

The individual vacation days are listed with date. The entries can be opened and supplemented with a comment or attachment. From the vacation overview, a vacation request can be created directly via ticket using the green "+ Vacation" button at the top right.

JavaScript errors detected

Please note, these errors can depend on your browser setup.

If this problem persists, please contact our support.