Time recording
With Blink, time recording for employees in facility cleaning becomes simple and digital. In the following, we will show you which time recording options are available and how they work.
Time recording with Blink Time app
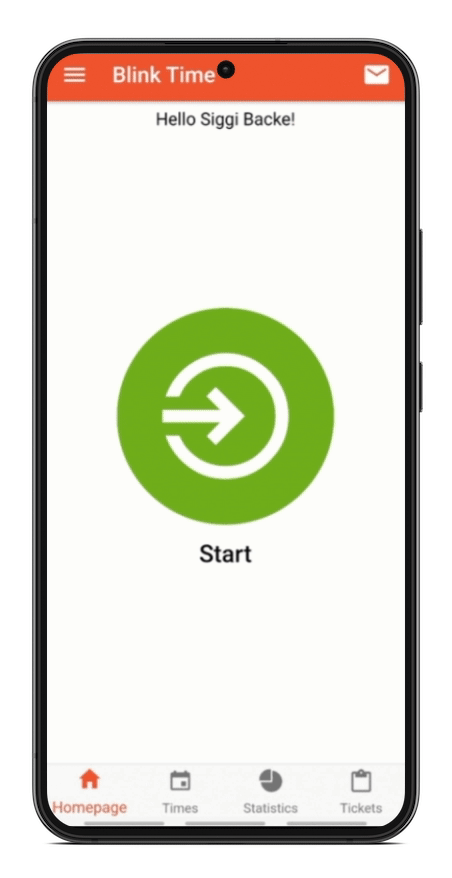
After successfully logging into Blink and clicking "Start", you will be taken to the Blink Time app home screen with the green "Start" button visible.
Time recording with QR code or via NFC
Start the time recording with the green "start button".
QR code: Click on "Scan now" and scan the object code.
NFC: Hold your cell phone to the object code sticker.Carry on with your work.
Stop the time recording with the red "Stop button".
Scan the same object code again
Employee Notes
Your supervisors have the option to add notes regarding individual locations with information important for your work. If such a note is saved, you will see it after you have scanned the object code. Click on the displayed button "PLEASE READ NOTES!" to read it.
Recording times offline
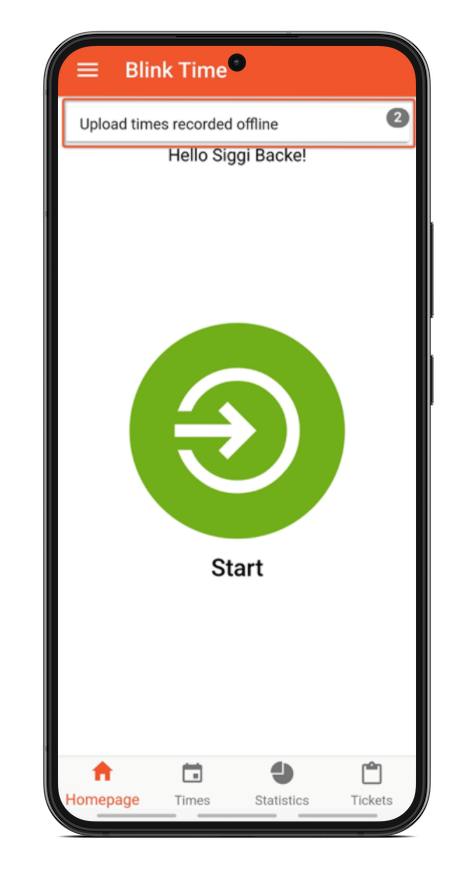
If you have no connection to the Internet ( WiFi or mobile), times can still be recorded offline. These are saved locally and as soon as a network connection is available again, the data can be transferred. You will see a note at the top of the screen that there are hours logged that still need to be transferred.
“Continue working” feature
There are two cases for which the "Continue working" feature is provided in the time recording::
You are working back-to-back in two different locations and the transit time is to be taken into account. The "Continue working" feature allows you to "start" in the first location and "stop" in the second location. Then a dialog is displayed on which the cleaner decides whether to continue working or to stop the recording.
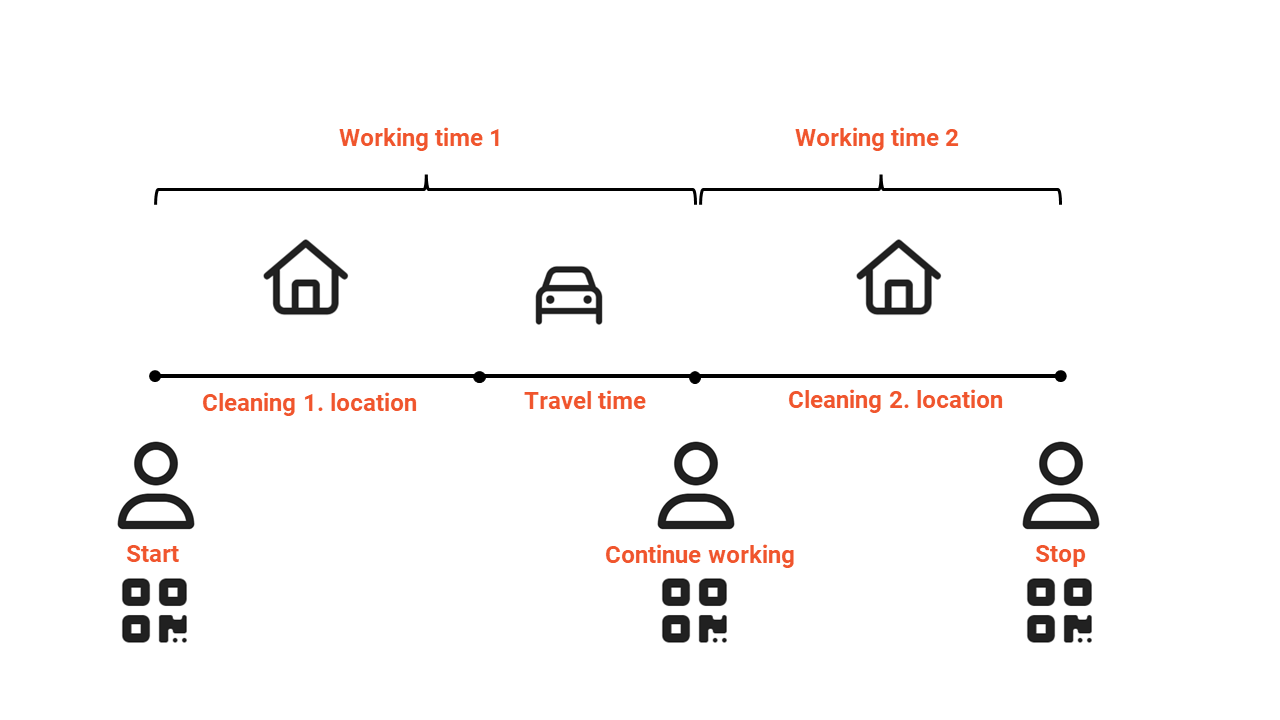
You have different services at a location, for each of which a separate time recording is to be made. The "Continue working" feature can also be used to switch between services. To do this, first scan QR code 1 in the location. If the service is to be changed, only QR code 2 needs to be scanned and "Continue working" selected. The time recording continues for the second service.
Important: Please clarify with your supervisor whether, when and how this function should be used.
Time recording without code
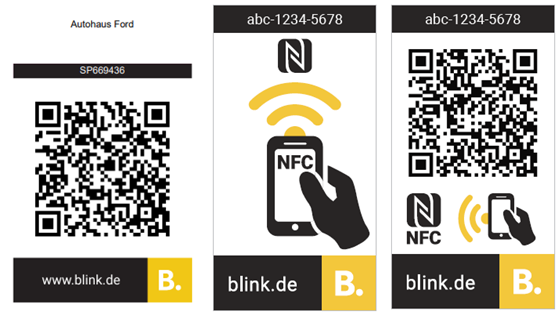
Usually your teamlead or the location manager will install object codes in order to facilitate the time recording. The object codes or NFC stickers may look like this:
If no object code is available, the time recording can also be started without an object code. To do this, click on the green "Start" button. select "no code available" at step 2 and follow the instructions. When stopping the time recording, it is mandatory to enter a comment before the time is recorded.
Important: Please clarify with your supervisor if and when this option can be used.
Time recording at the terminal
Depending on the size and general conditions, the company may decide to have a so-called terminal installed at your location. In this case, you do not use an app, but receive a Blink ID card (as a physical card), with which you record your time at the terminal.
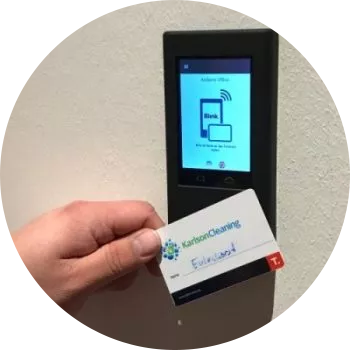
This form of time recording is very simple. Hold your Blink ID card up to the terminal. A signal beeps and the terminal indicates that the recording is starting.
To stop the time recording, hold the Blink ID card to the terminal again.
Time recording by phone
As an alternative to time recording with the Blink Time app or a terminal, time recording can also be set up by telephone. In this case, a special telephone number is called from a telephone on site at the customer's location (e.g. at the reception). The object can then be identified and assigned on the basis of the phone number transmitted and previously stored in the system.
To start or stop time recording, proceed as follows:
On the Blink ID card you will find the phone number you need to call.
Call the number from the phone on premise
When prompted, enter the Blink ID from your Blink ID card.
You should hear a message that the time entry was started successfully.
Hang up.
Repeat these steps to stop time recording.
Mobile time recording without app
Time recording with Blink Mobile Web is an alternative way of time recording for all users with smartphones.
It is recommended if the app cannot be installed on your device or if it is an older generation smartphone.
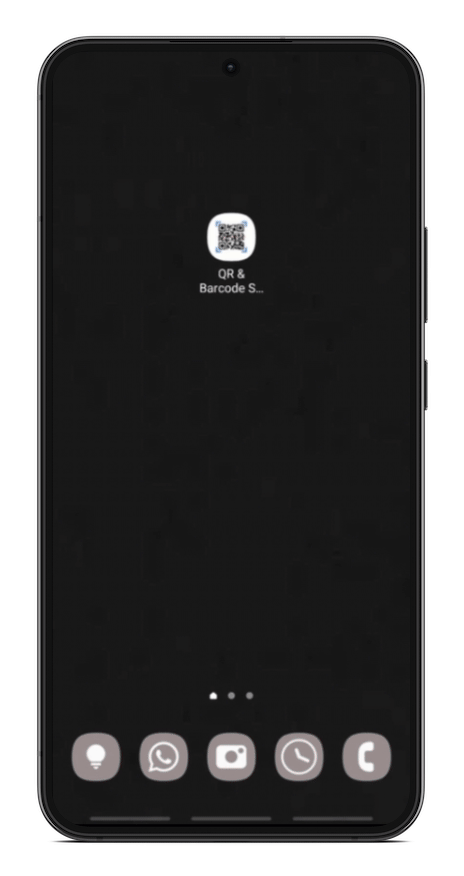
In order to use time tracking with Blink Mobile Web you need a QR code scanner on your smartphone. QR Code Scanners are available as a free download from your app store. On some smartphones, the scanner is also already integrated in the camera.
Registration & time recording on the Blink Mobile Web website
Open the QR Code Scanner on your smartphone.
Scan the object code.
As soon as the object code has been recognized by the QR code scanner, you have to confirm the call of the web page again or you will be forwarded directly, depending on the setting of the QR code scanner. The individual web address is included in the QR code.
On the Blink Mobile Web page, you now log in with your Blink ID and the one-time code from the Blink ID card.
This login is only necessary the first time. The web page saves the access data.After entering the login information, click on "Record time" to start the time recording. You will receive a confirmation message. You can now close the page.
To stop time recording, scan the object code again. Your access data is now already saved.
Click on "Record time" again. Now you will get a confirmation that the time recording is stopped. You can now close the page.
Verify times
The location manager or teamlead can immediately see the recorded working times in Blink Manager.
As an employee, you can view your own logged working hours at any time via the Blink Time app.
To do this, simply click on the link " → Times" on the home screen.