Setting up Blink Time
Blink Time App
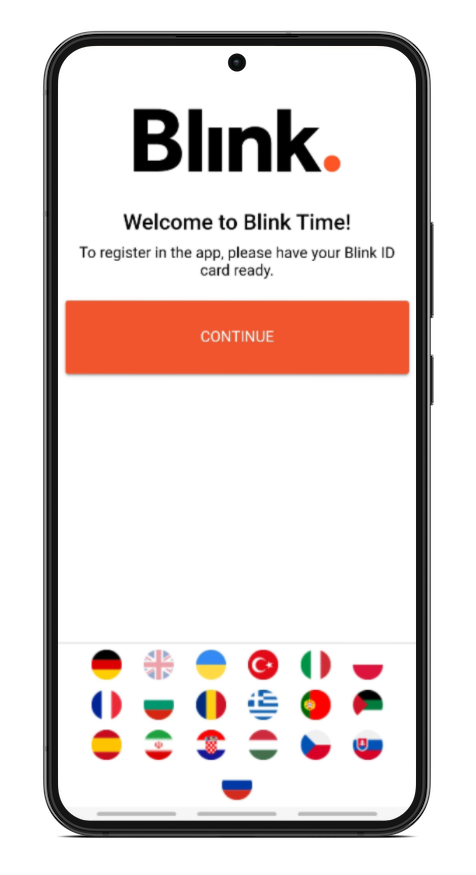
First download the Blink Time app from the Playstore/Appstore to your smartphone and start the app. You can select the languages that suit you best right here. Blink is available in 19 different languages: German, English, Russian, Turkish, Italian, Polish, French, Bulgarian, Romanian, Greek, Portuguese, Arabic, Spanish, Farsi, Croatian, Hungarian, Slovak, Czech and Ukrainian. You still have the possibility to change the language later.
Log in to Blink Time
To proceed to the llogin, click on "Next". To log in, you will now need your Blink ID card: You will usually receive this from your supervisor or the location manager.
The Blink ID card is the centerpiece of Blink Time. The card fulfills several purposes at once:
The card contains the QR code (3), which can be used to log in to the app for initial registration. Alternatively, you can use the one-time code (1) together with the Blink ID (2). Code and Blink ID are also required for mobile time recording without app.
Each card contains a unique, individual number, the so-called Blink ID (2). Only when an employee has been assigned such a number can he or she log times in the system.
If you have a physical card, it contains an NFC chip that makes it possible to use the Blink terminal for time recording.
The card depicts the three ways to log hours with Blink. Each Blink customer has his own personal phone number (4) for time recording by phone.
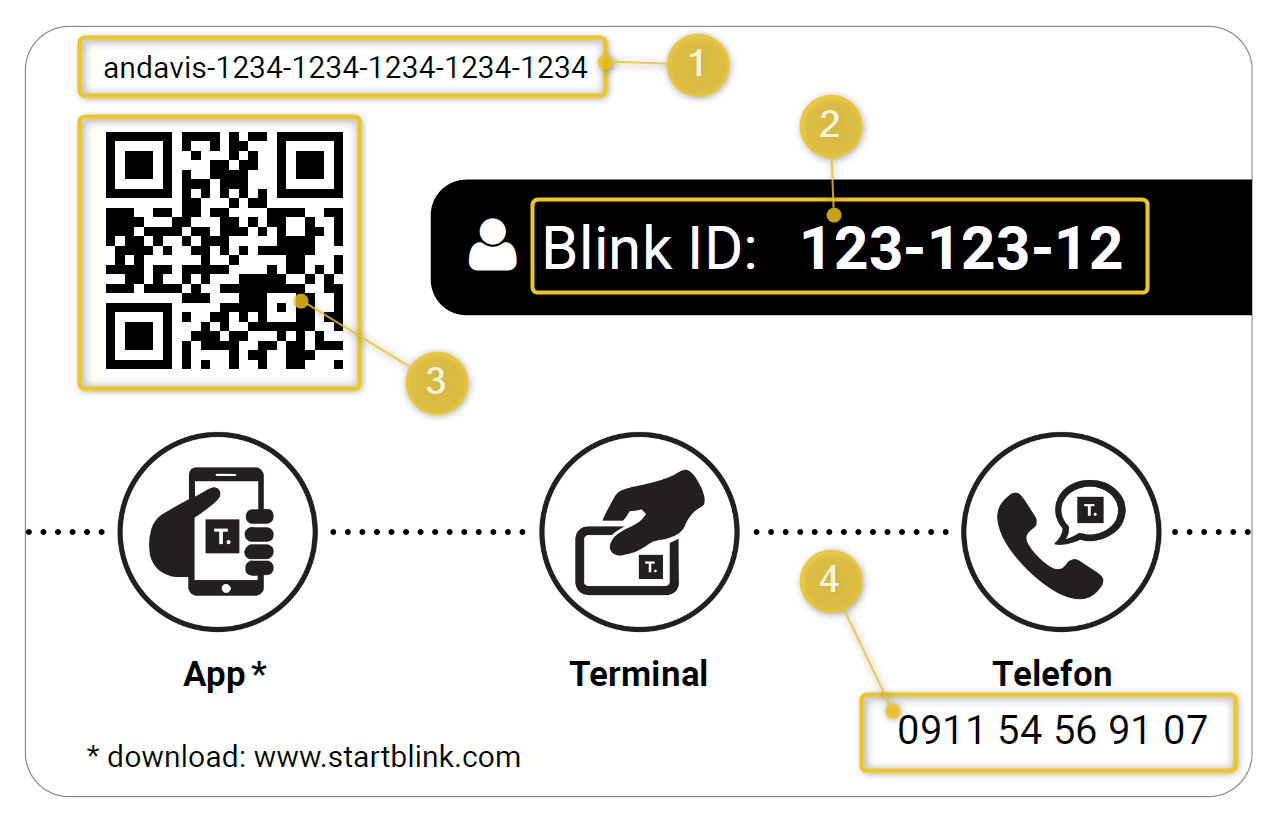
The easiest way to log in now is to scan the QR code (3) on the Blink ID card.
To do this, click on "Scan now". You will now probably need to give the app permission to access your camera. This is necessary so that the code can be scanned. You should select the option "When using the app", because you also need the permission for time recording via QR code. You can find out more about permissions here.
Just scan the code and you're all set! Now you can start the app by clicking on "Start".
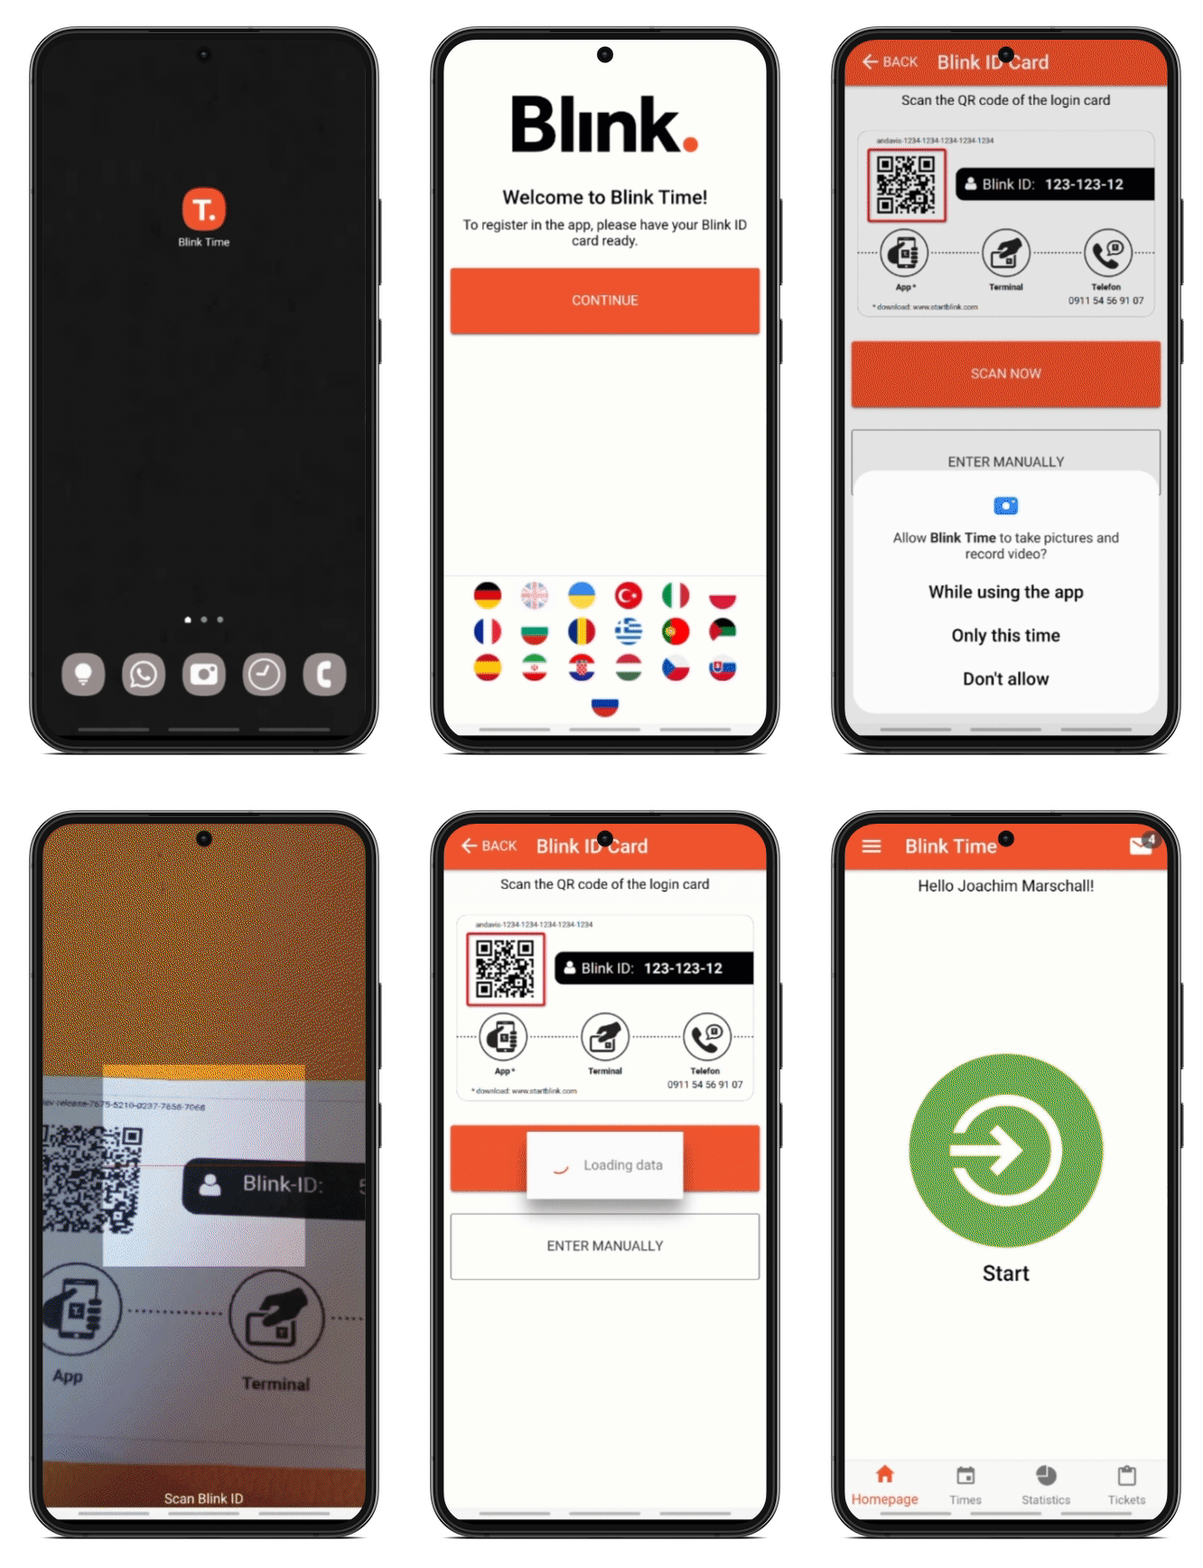
As an alternative to signing in via QR code scan, you can also sign in manually. To do this, click on "Enter manually". In the following window, enter the code from the Blink ID card (1) and your Blink ID (2) and confirm with "Next". Now you can start the app by clicking on "Start".
When starting the app, your profile data will be loaded automatically, i.e. you do not have to log in again.
Settings
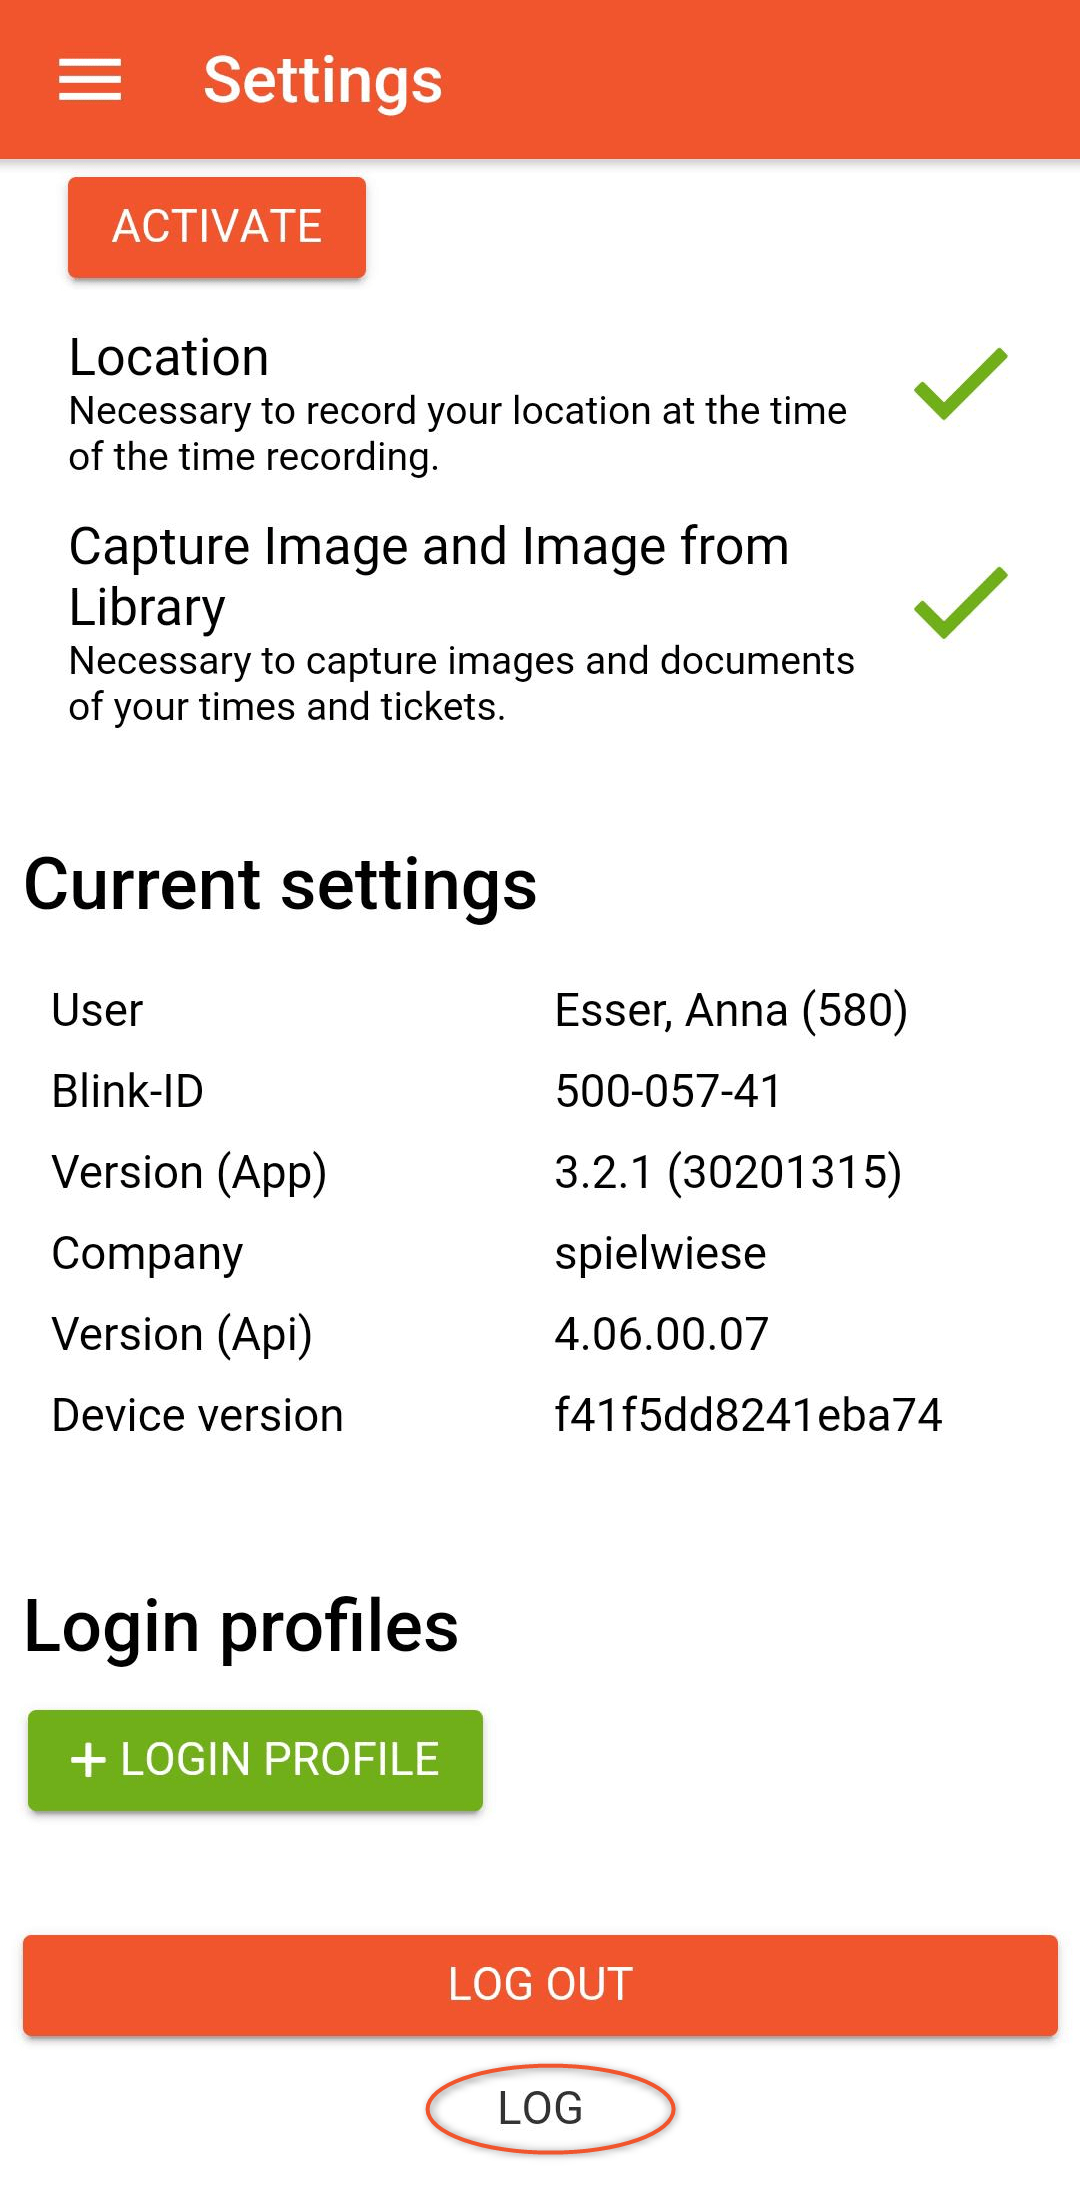
To access settings, click on the menu button in the upper left corner and click on "Settings". Here you can configure several items:
Language selection
Here you can select your language for the app, if not already done at the beginning.
Blink is available in 19 different languages: English, German, Russian, Turkish, Italian, Polish, French, Bulgarian, Romanian, Greek, Portuguese, Arabic, Spanish, Farsi, Croatian, Hungarian, Slovak, Czech and Ukrainian.
To select, click on the drop-down menu, choose your language and confirm with "Ok".
Data transfer
The app saves data offline as soon as there is no internet connection. The data can then be sent as soon as a network connection is available again. If you do not want data to be transmitted via the mobile network connection, you can adjust the data transfer in the settings to only transmit data when there is a Wi-Fi connection.
Permissions
In this section, you can see all the permissions that need to be granted on your smartphone in order to fully use all the app's features. Particularly important are the permissions for access to camera and location. If a permission is not granted (you will see a red cross behind the permission), you can activate it right here: Clicking on "Grant permission" will take you to the settings on your device.
Alternatively, you can use the settings on your device to configure these permissions yourself:
Android: Go to "Settings" > "Apps" > "Blink Time" > "Permissions".
iOS: Go to "Settings" > "Privacy" > "Camera" > "Blink Time" app &
Go to "Settings" > "Privacy" > "Camera" > "Blink Time" app
Select the "High accuracy" or "Exact location" option for the location detection.
Current settings
Here you can see the current settings like: Your name, the Blink ID and the current app version. Make sure you always have the latest app version installed.
You can see which version is the latest here in the documentation under "Release Notes".
Alternatively, go to the Appstore/Playstore and open the Blink Time app.
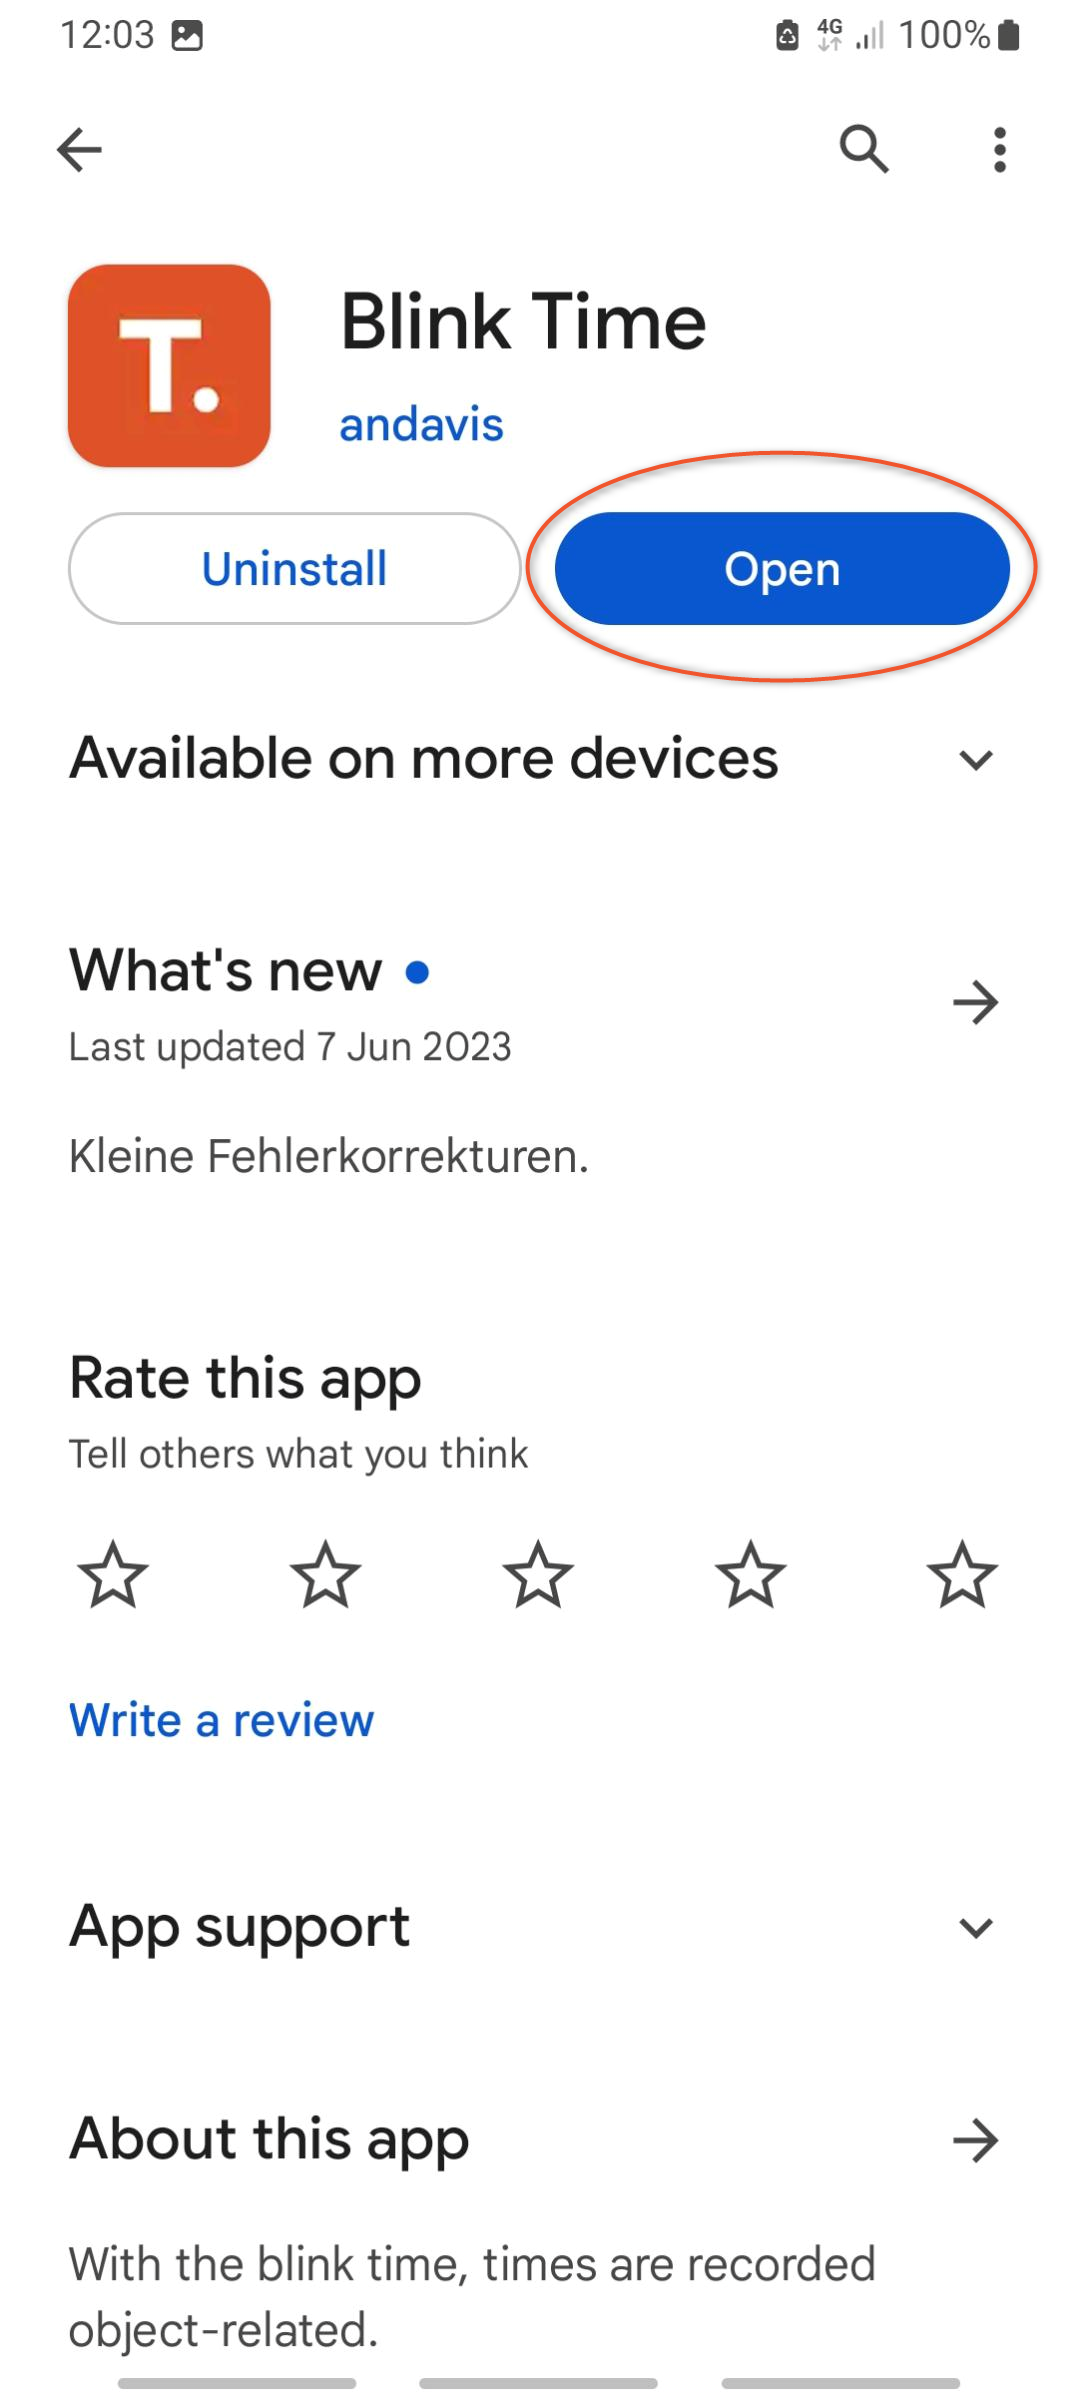
If you have installed the latest version, then it says "Open". In this case you do not need to do anything more! Otherwise click on "Update" to update to the new version.
Login profiles
You work in locations that belong to two different clients? Or you work for two different employers who both use Blink Time for time recording? Then you can add more Blink profiles here to easily switch between profiles within the app.
To add another profile, click on the green "+ LOGIN PROFILE" button. You will now be taken to the login screen again, where you can register via QR code scan or by manual entry.
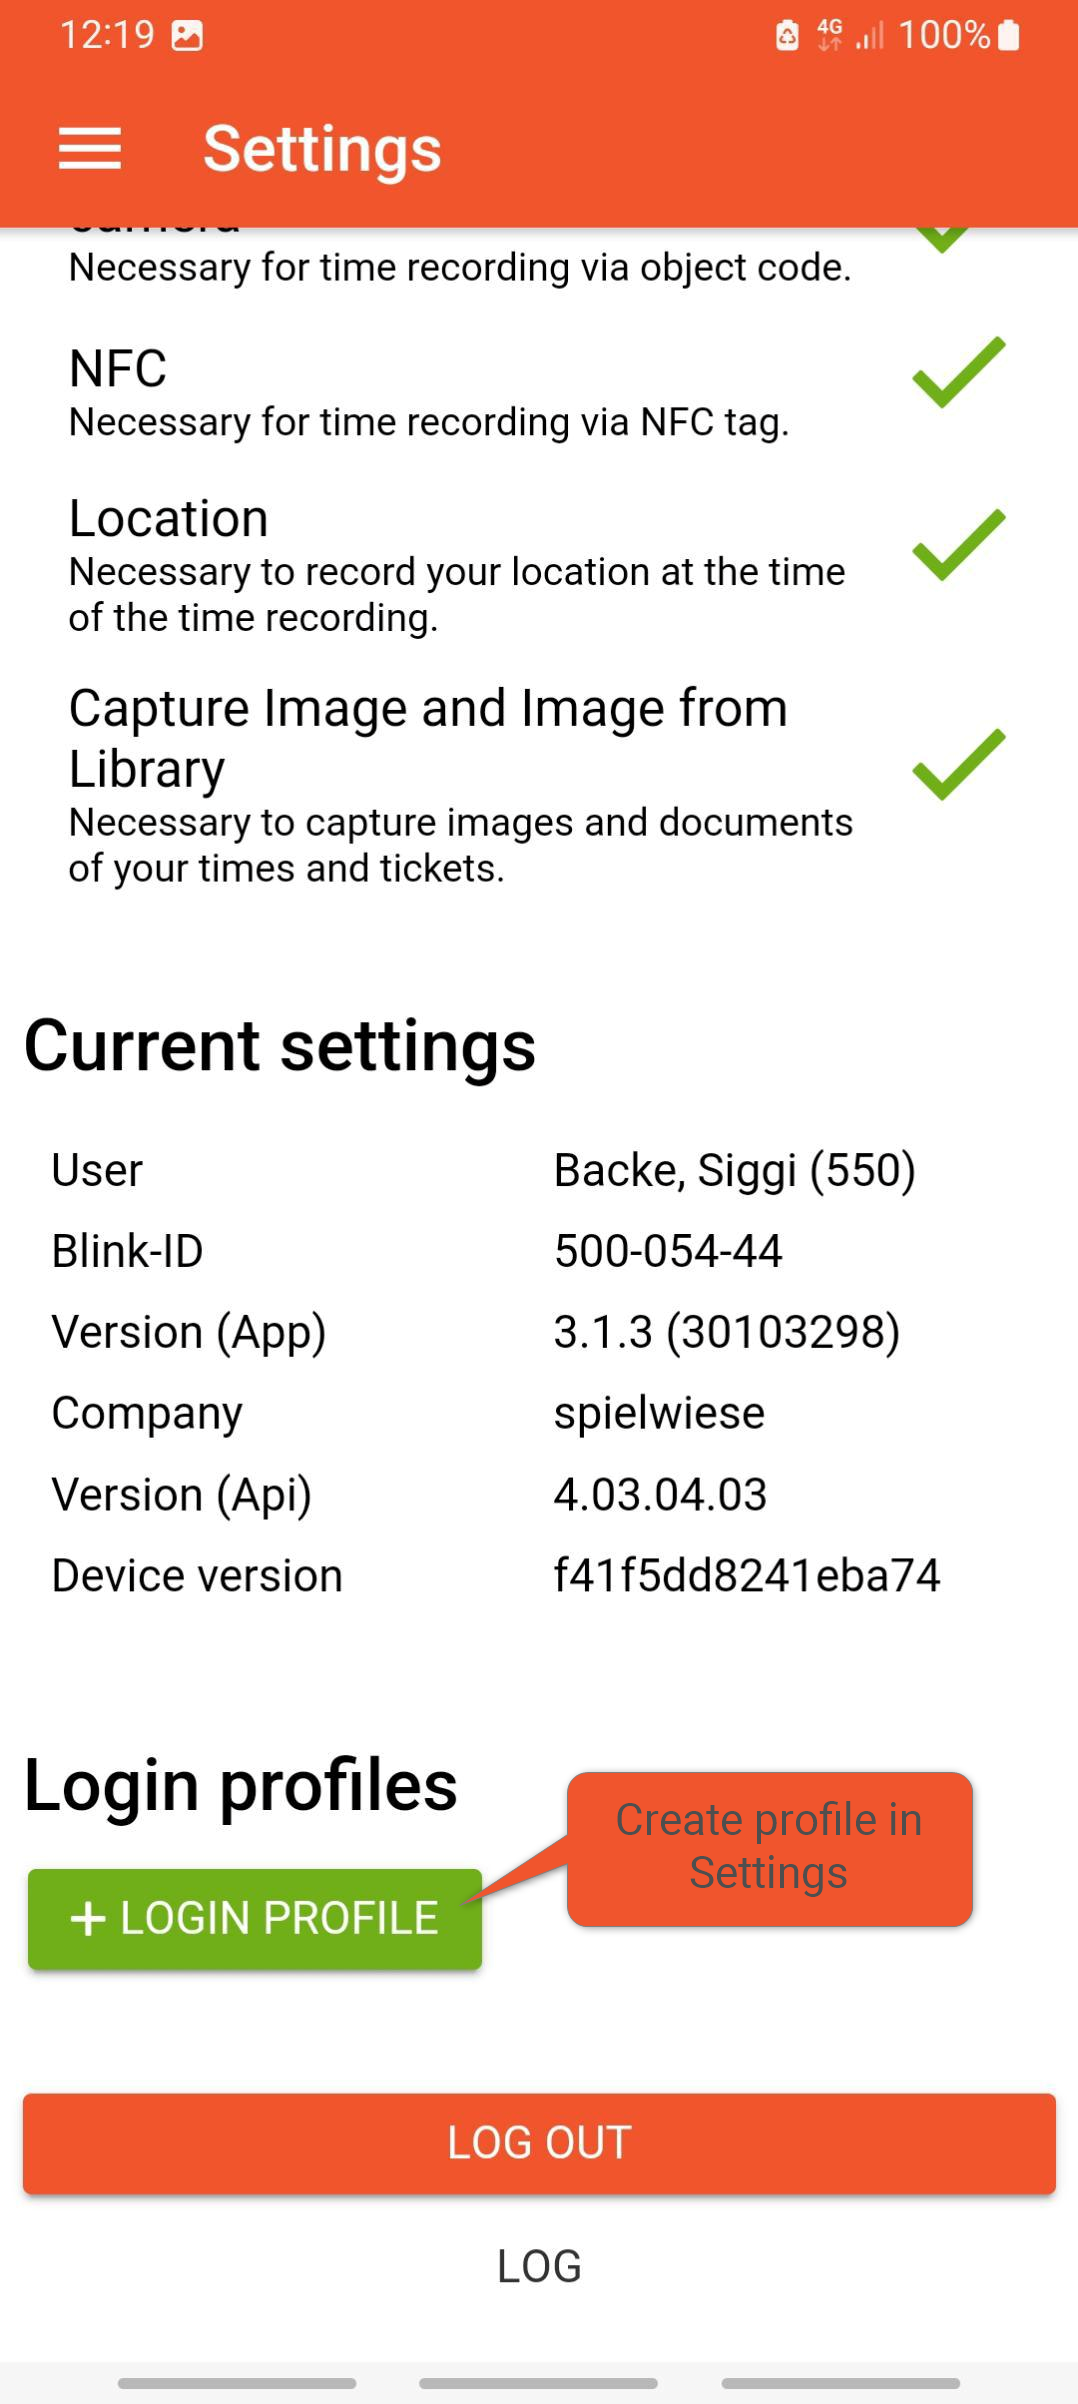
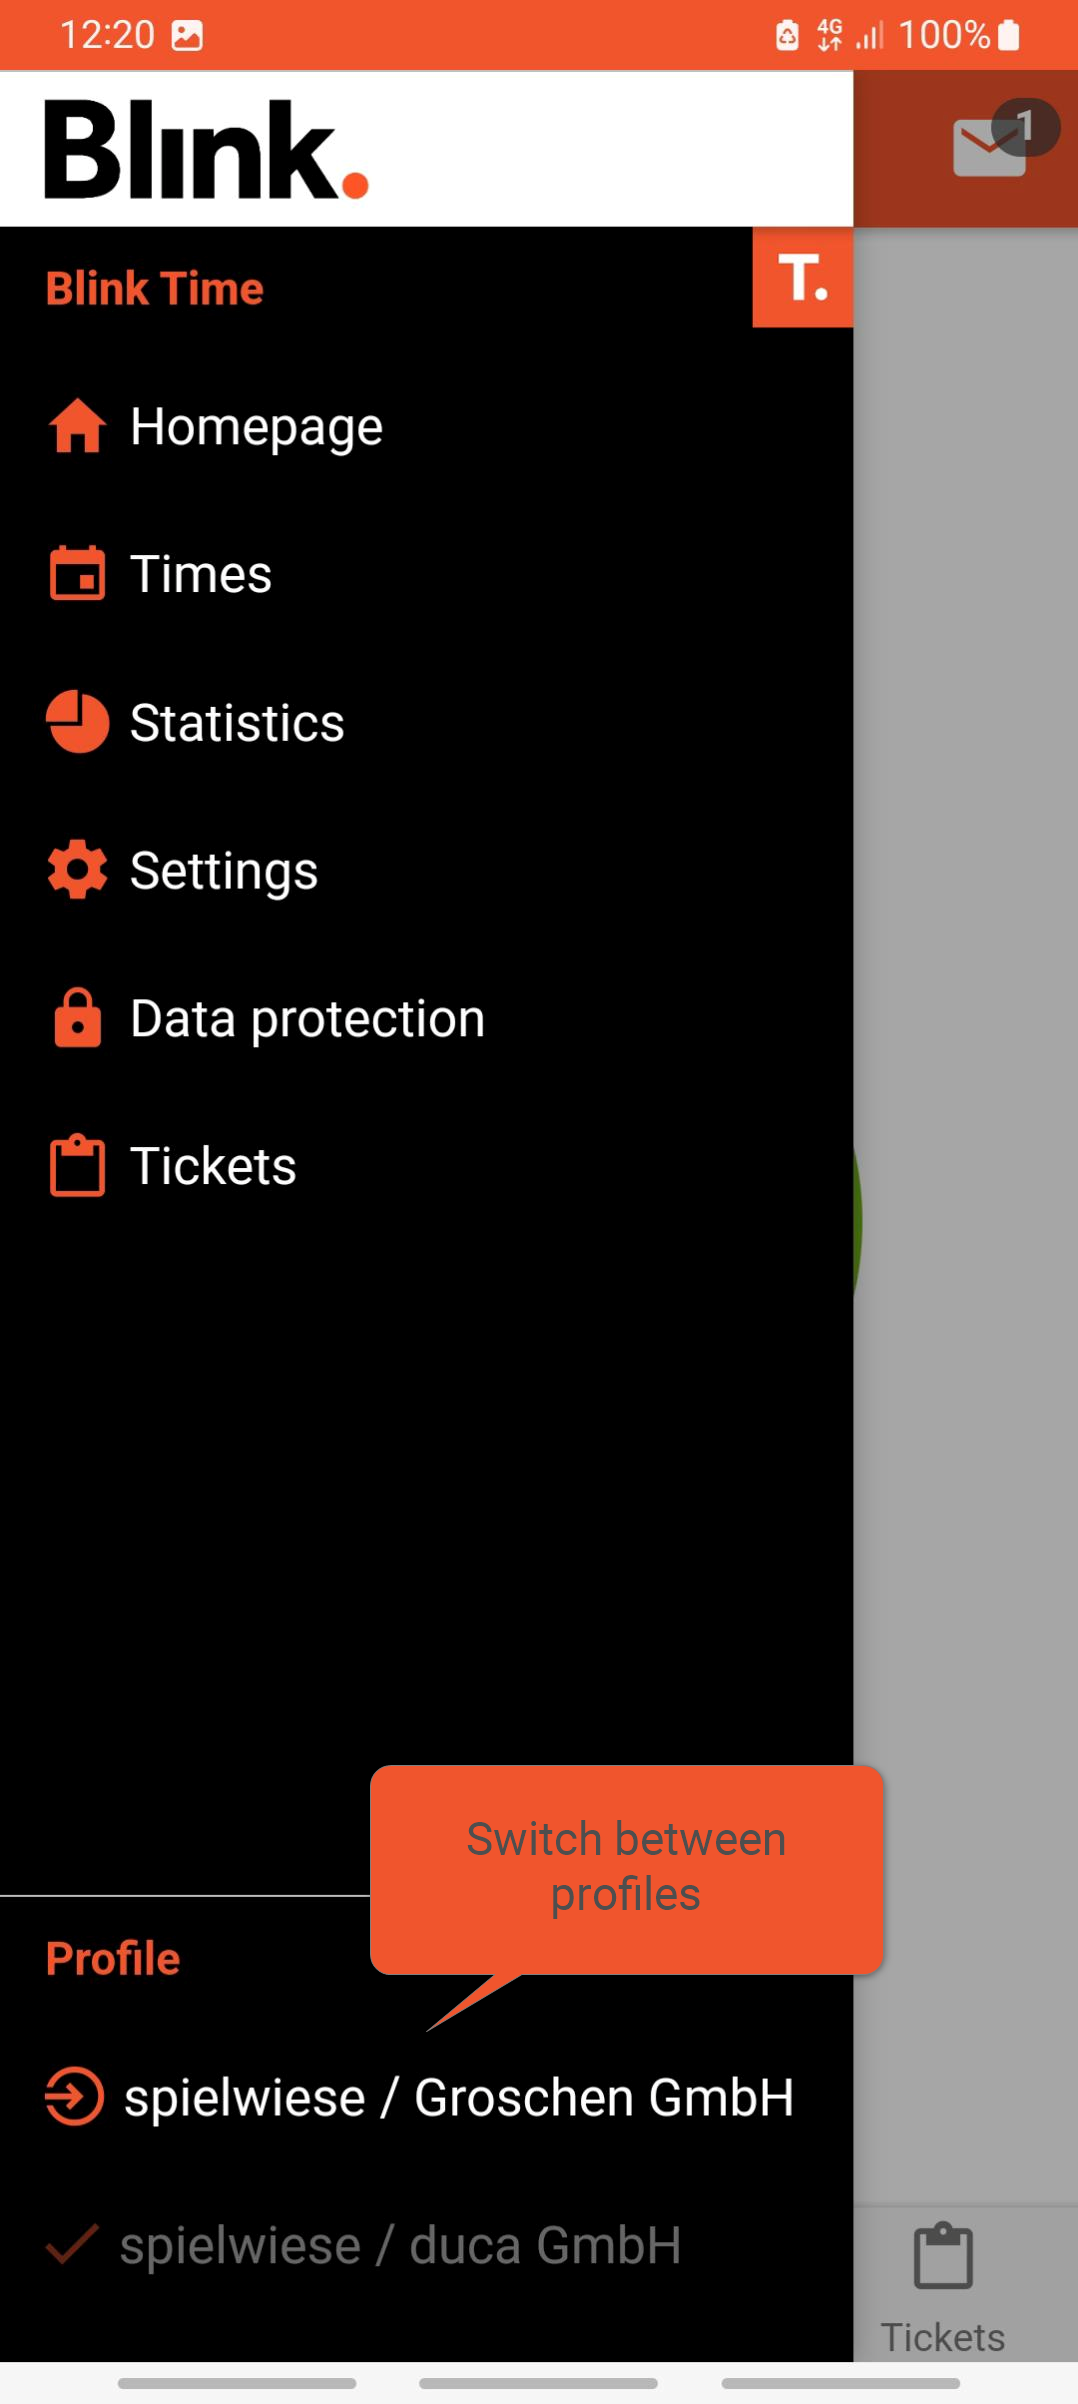
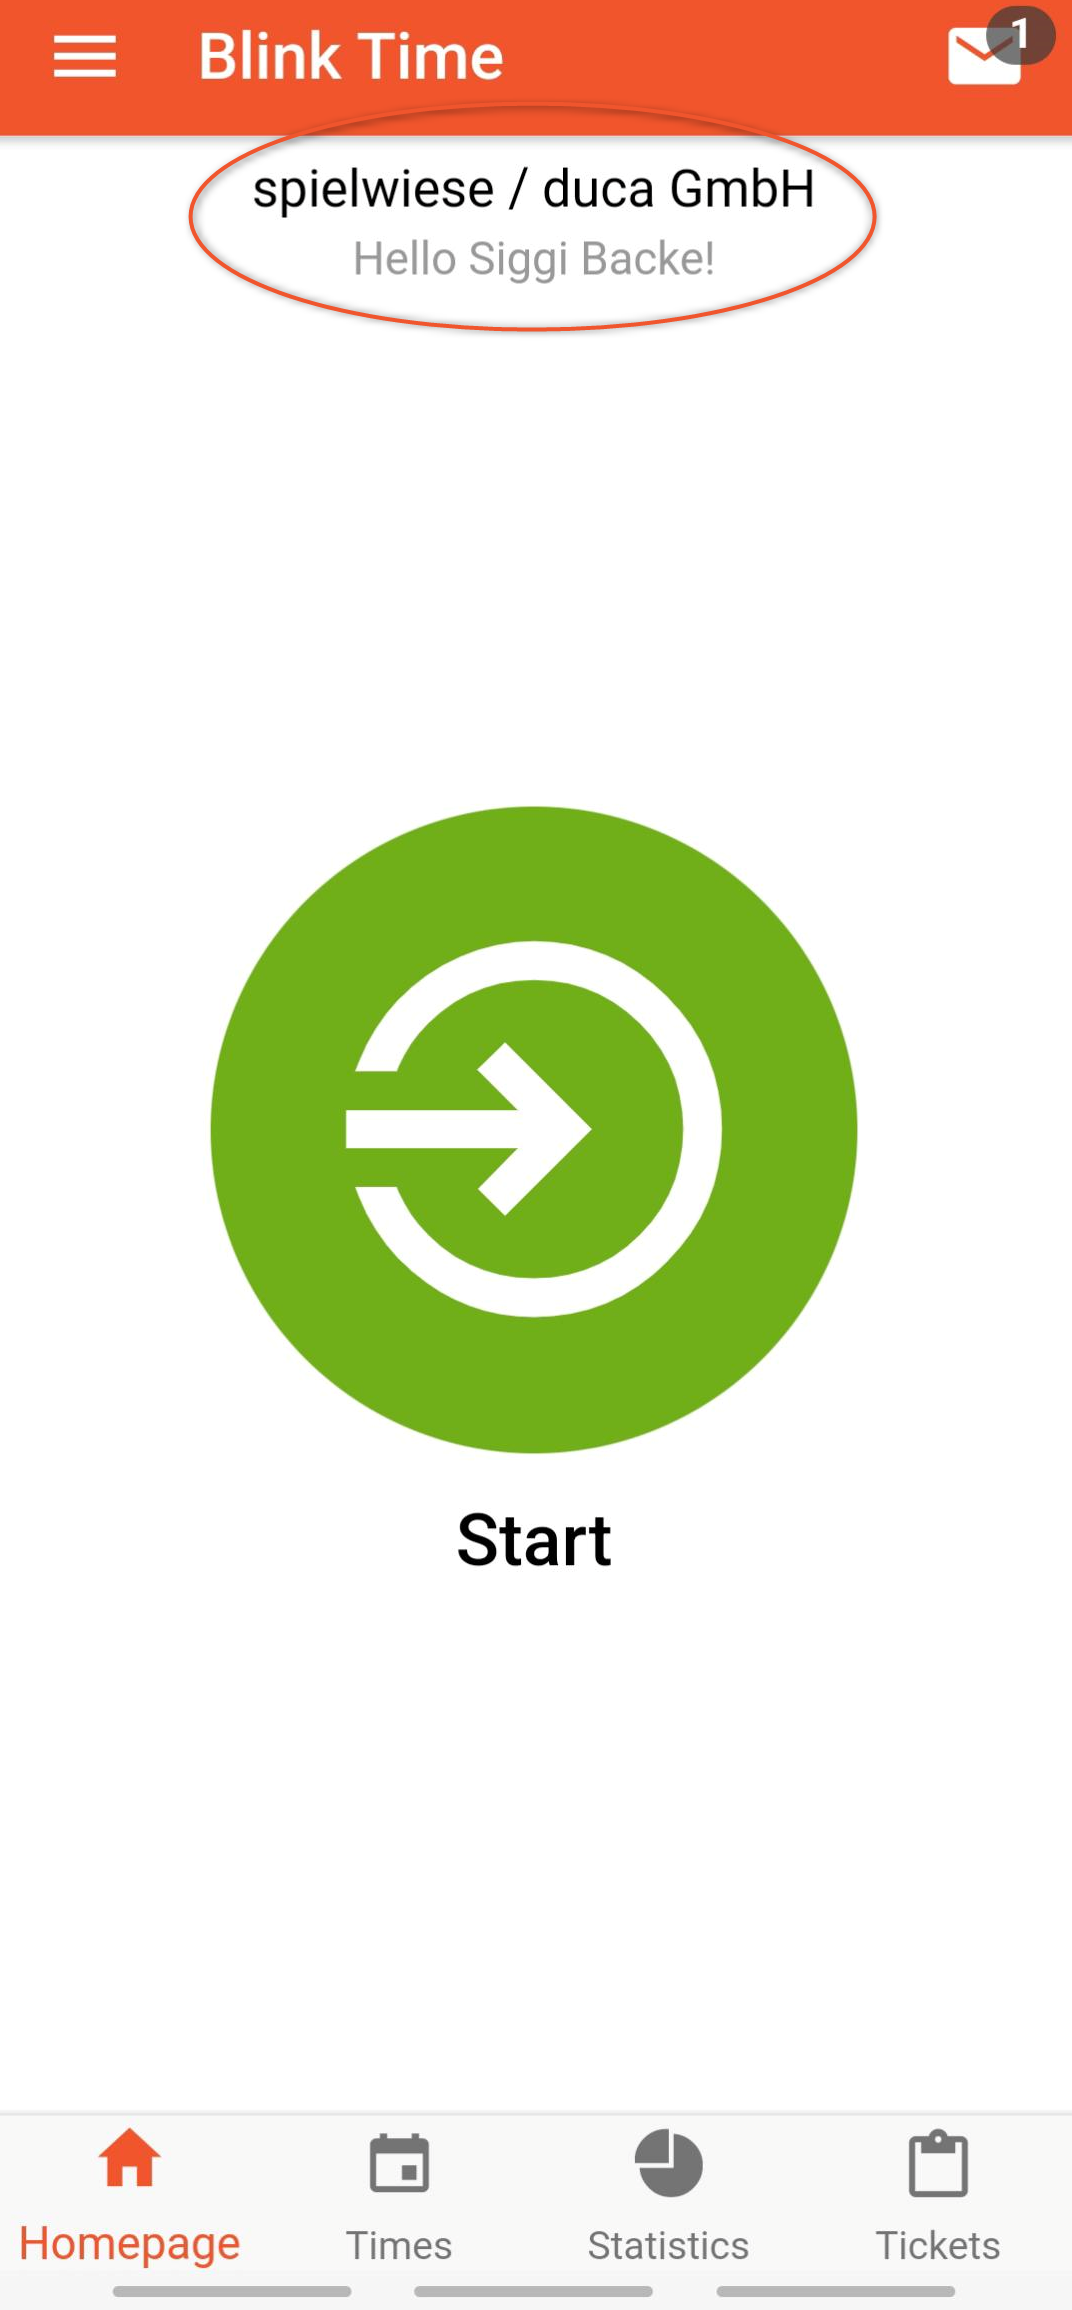
If you have more than one profile, make sure you are logged in to the correct profile before you start the time recording. You can see, which profile is chosen on the home screen above the start-button.
To change profiles, open the menu bar and click on the corresponding profile at the bottom. A profile change is only possible if no time recording session is currently running and if no offline times are pending.
Log out
You can log out of the app here. Note: When you log out, all local data and profiles are deleted. If you want to use the app again, you must re-register with your Blink ID.
Log
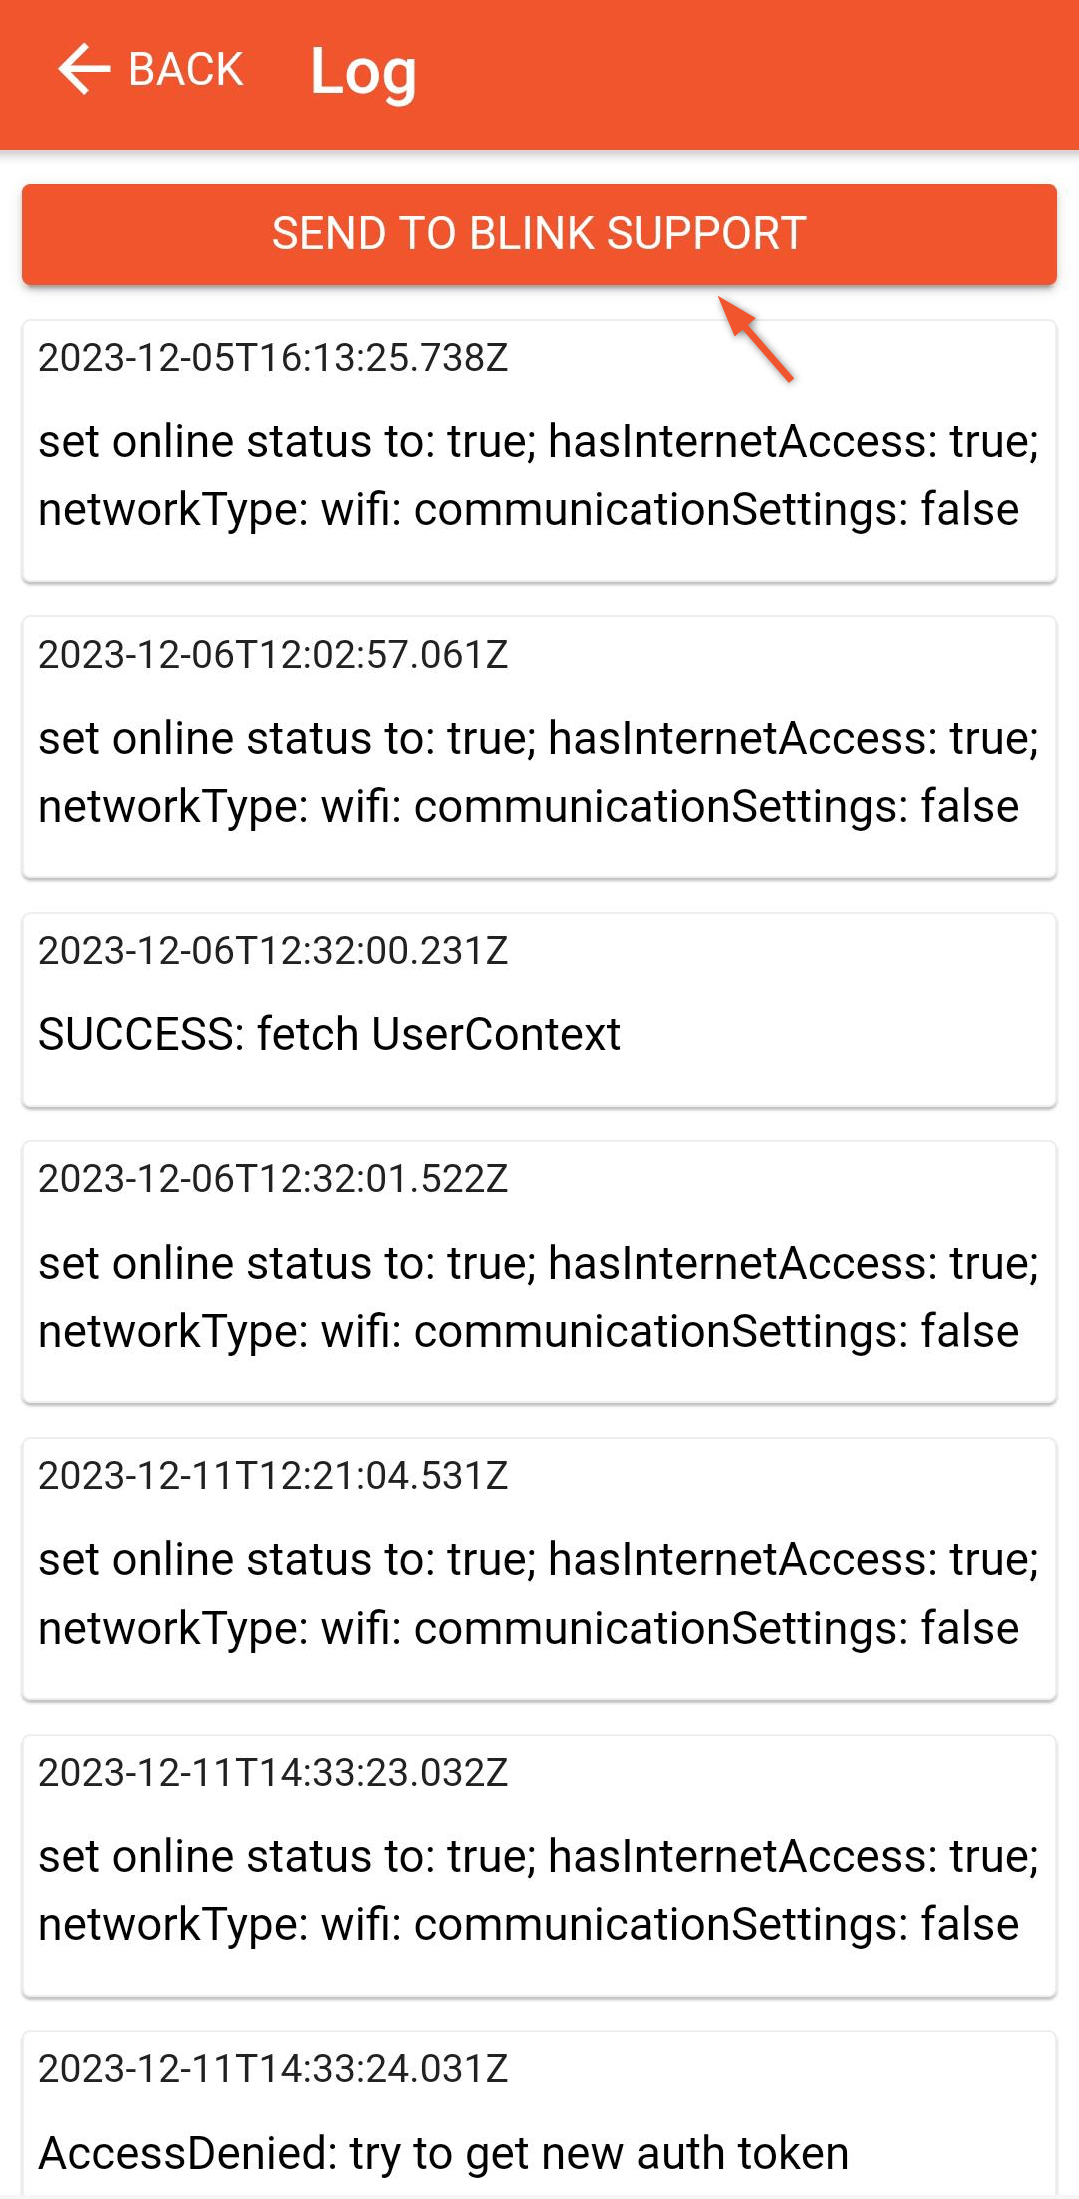
All technical app processes are saved by the system in the log section.
The texts are not relevant for the user themselves, but provide important information for the support team: The log can reveal where a technical error may have occurred.
If something is not working with the app, it may therefore be necessary to provide the support team with this log information:
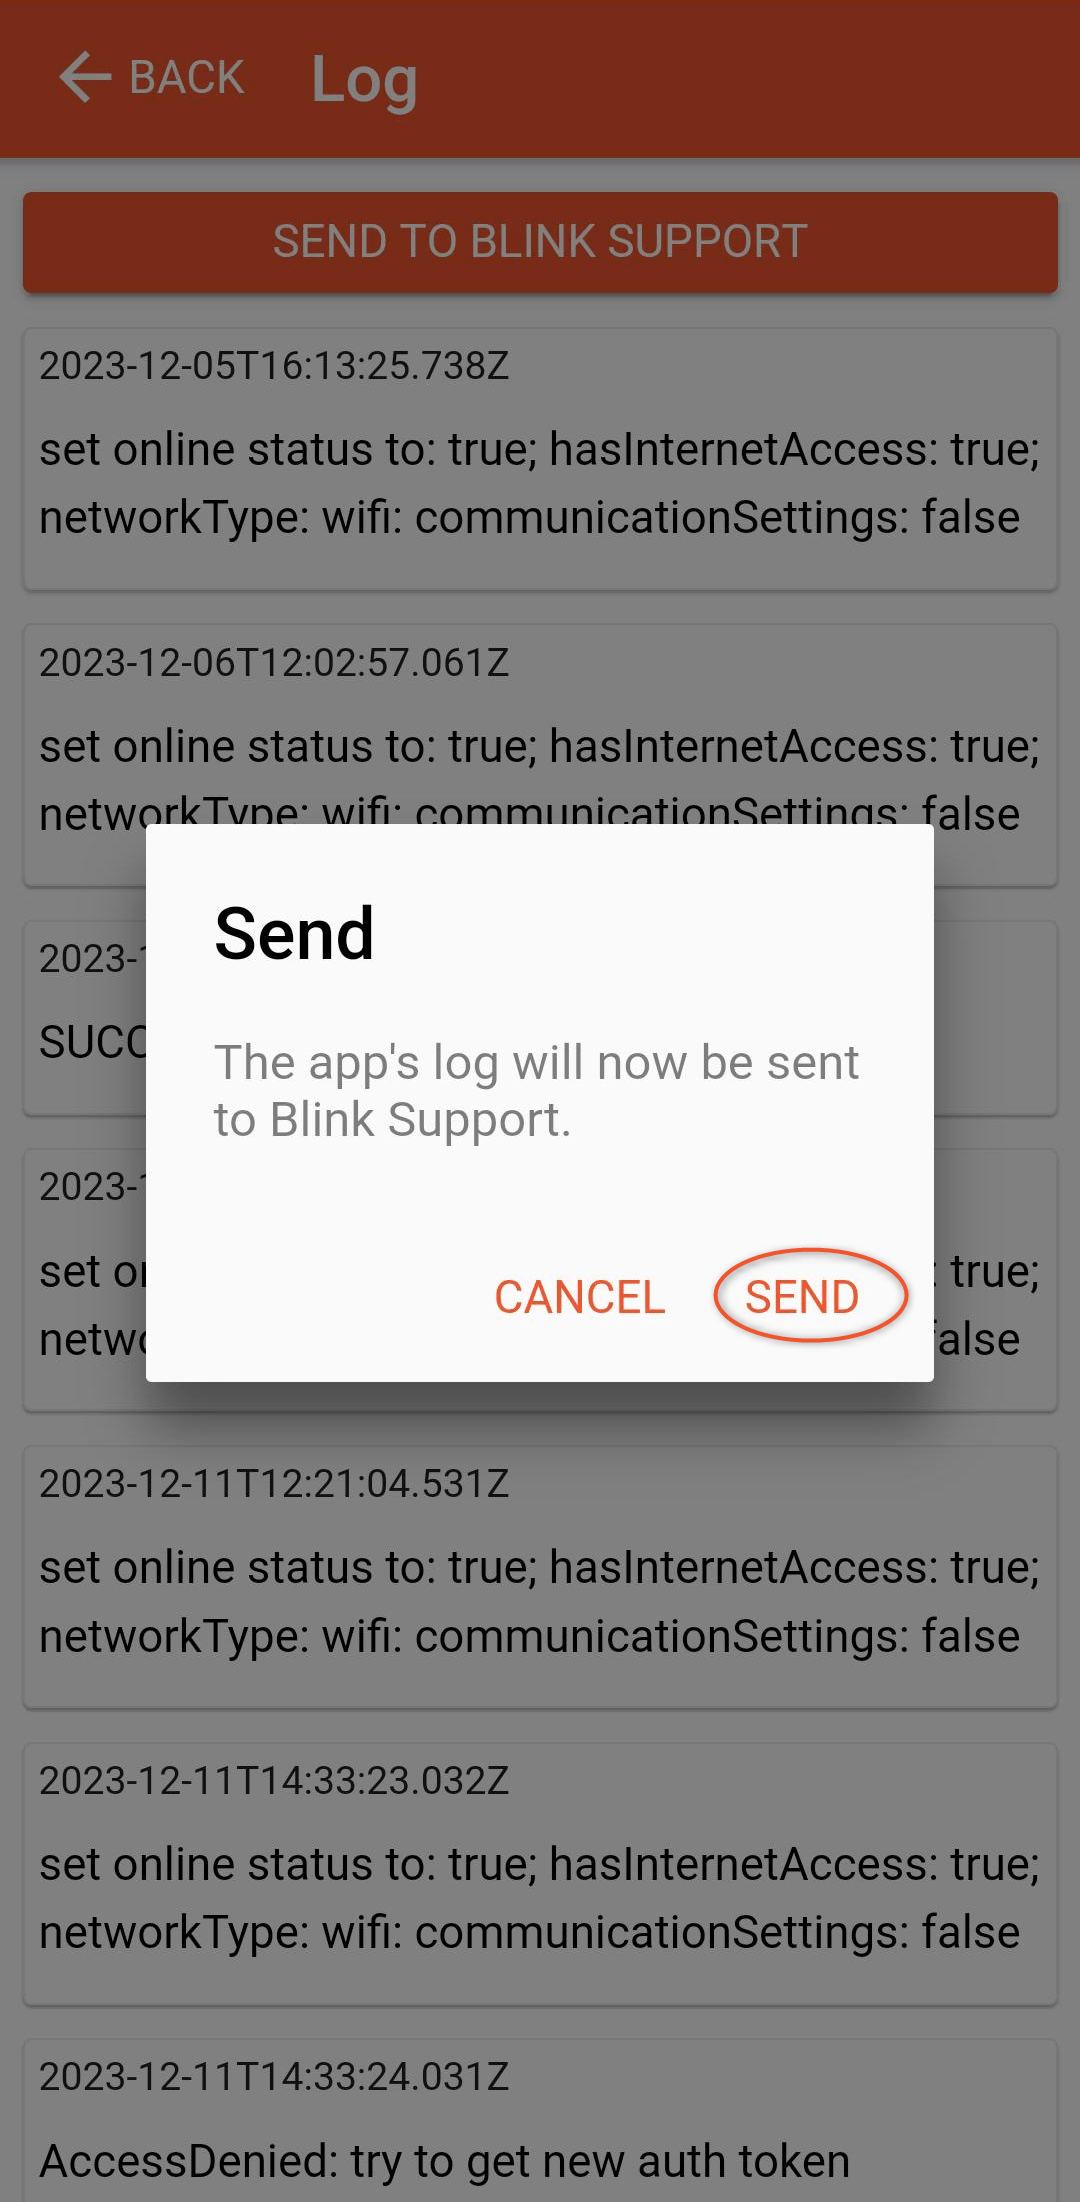
To do this, scroll all the way down in the settings and click on "Log" below the logout button. At the top of the page you will find the "Send to Blink Support" button. Click on it and confirm with "Send" in the pop-up window.
