Time tracking
Digital time tracking is easy with the Blink me app. Here we show you how time tracking works with the app, how times can be checked and how schedules can be viewed.
Start & Stop
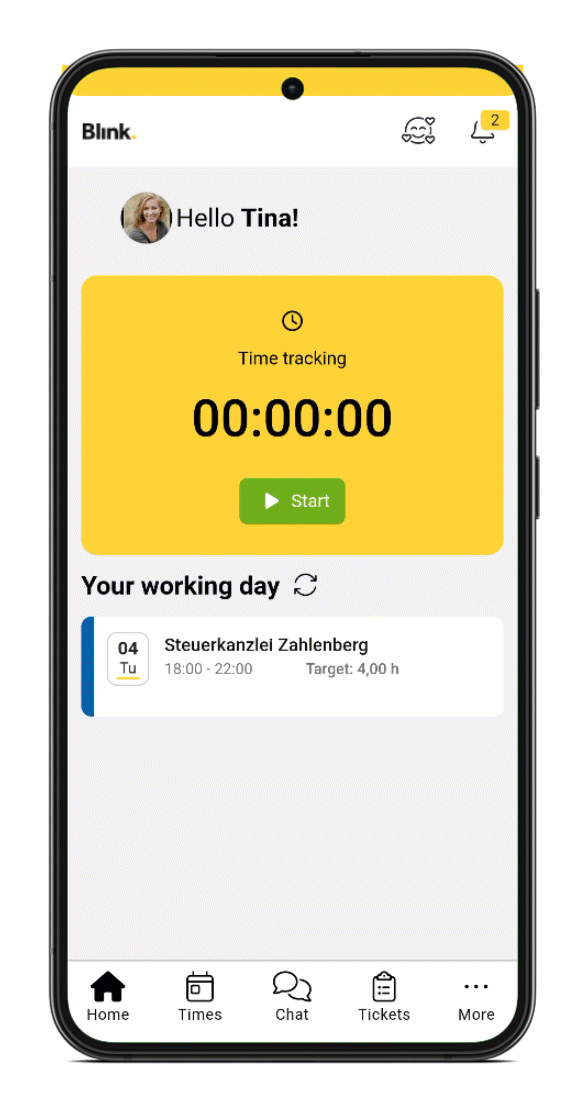
Time tracking is launched via the home screen. There is a green start button in the yellow box, which is used to start time tracking. Clicking on the button opens a dialogue with various options for time tracking.
To use time tracking via QR code scan, click on ‘QR code’ and then capture the object code with the camera that opens. Time tracking is now in progress.
The timer, the object name and the start time are displayed in the green framed box.
If an employee note is stored for the scanned object, this is now immediately displayed in full on the home screen and can be translated if necessary.
During time tracking, a bar is displayed at the bottom of the screen when switching to other areas of the app, indicating that time tracking is in progress and when it started. Time tracking can also be stopped directly from there.
Time tracking is ended by pressing the red ‘Stop’ button on the home screen and capturing the object again.
For time tracking via NCF, the mobile phone is held up to the NFC sticker.
If enabled, time tracking can be done without an object code, e.g. if an object code is missing in an object. If you stop time tracking without an object code, you must enter a comment before the time can be saved.
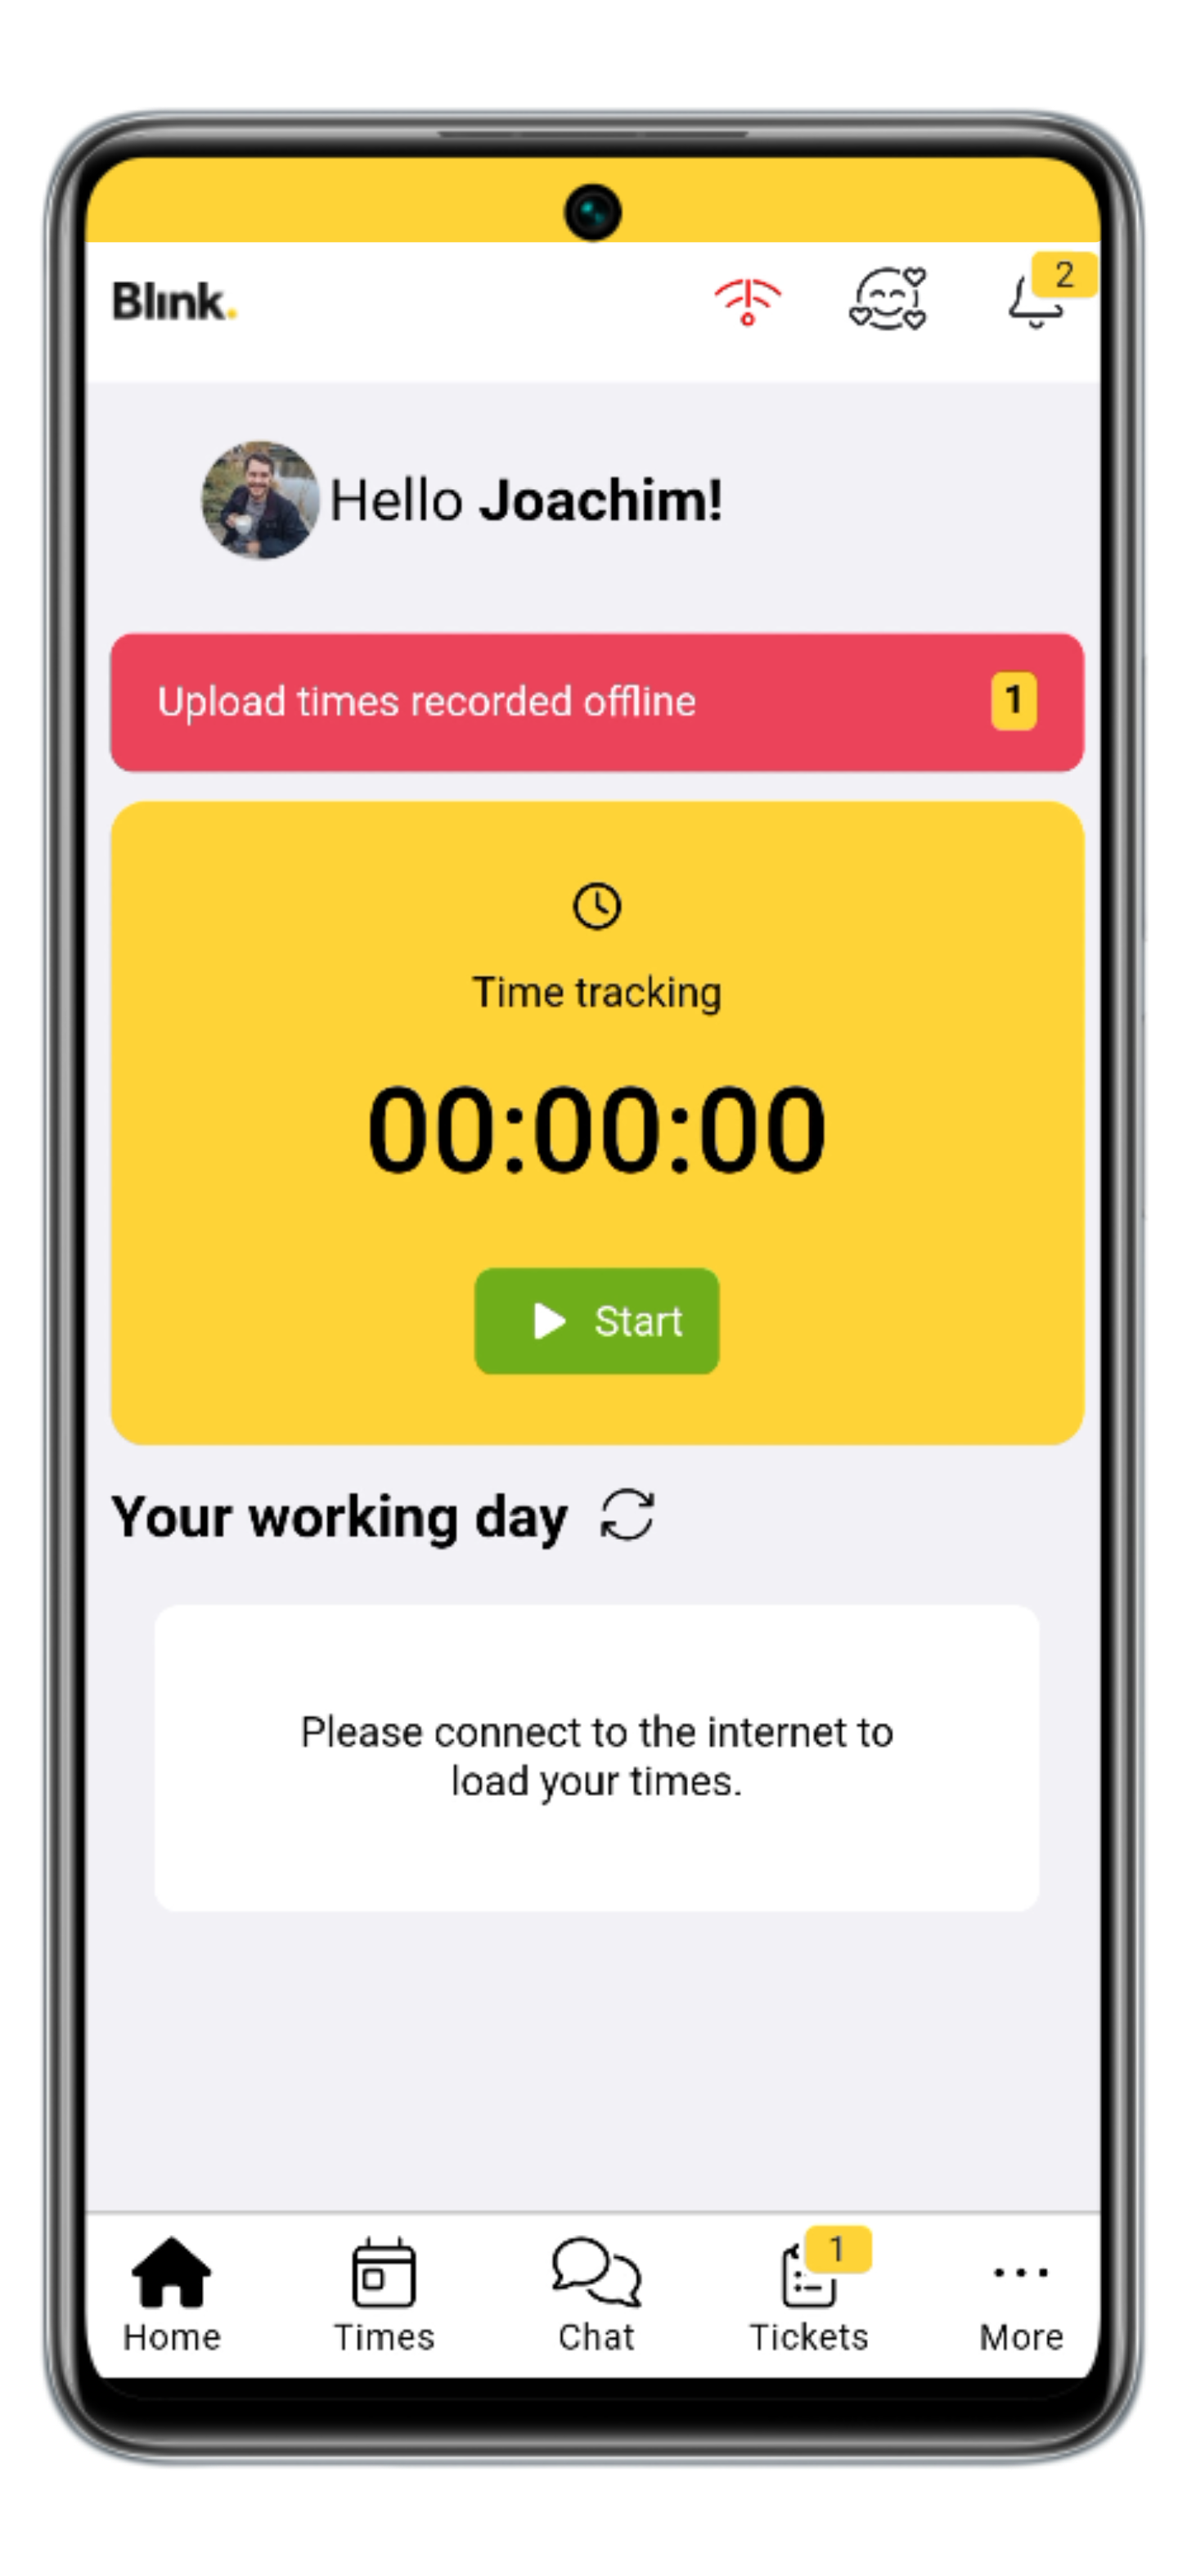
You can also record track times offline. As soon as a network connection is re-established, the times are transmitted automatically. You will see a message on the home screen if times recorded offline have been saved but not yet transmitted.
The ‘Continue working’ function is designed for two cases in time tracking:
You are working consecutively in two different objects and the travelling time is to be taken into account. The ‘Continue working’ function allows you to ‘start’ in the first object and only ‘stop’ in the second object. A dialogue is then displayed in which the cleaner decides whether to continue working or to stop.
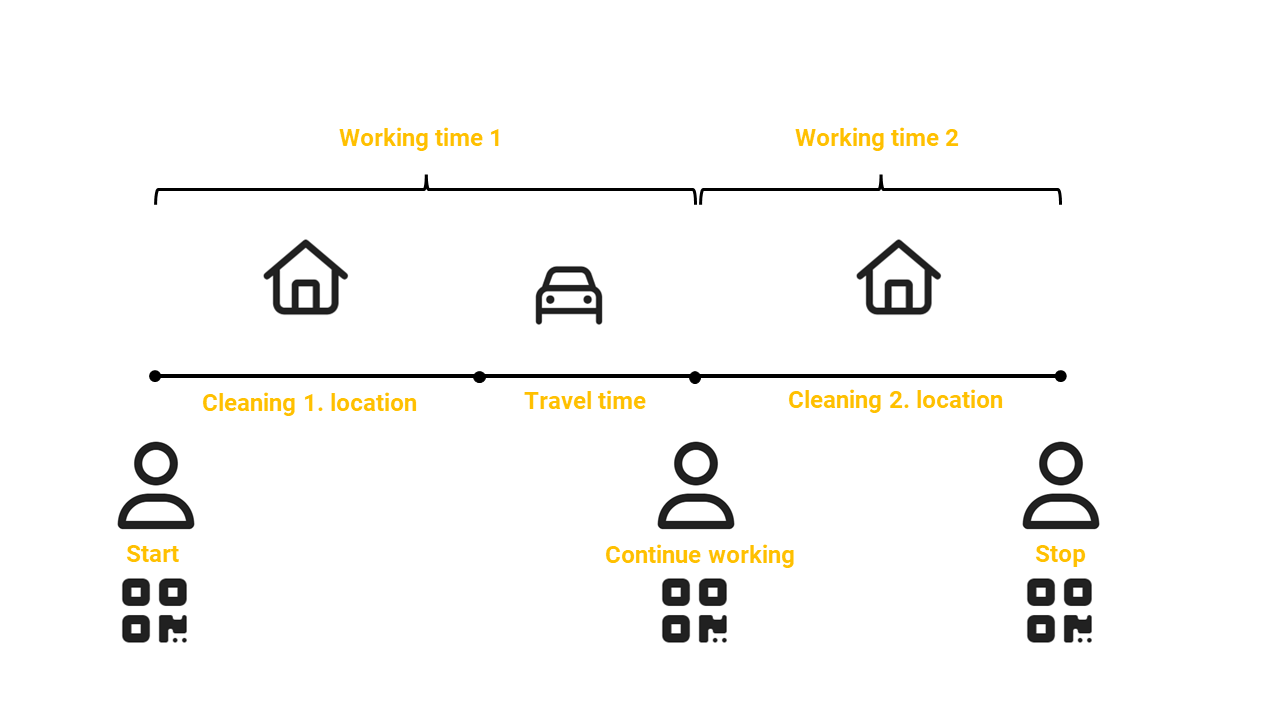
You have different services in one object, for each of which separate time tracking should be carried out. The ‘Continue working’ function can also be used to switch between services. To do this, first scan QR code 1 in the object. If the service is to be changed, then only QR code 2 needs to be scanned and ‘Continue working’ selected. The time continues to run on the second service.
Important: Please clarify with your line manager whether, when and how this function should be used.
Confirm target times
In the system, ‘Confirm target times’ can be set as the time tracking type for the employee. With this type of time recording, the employee confirms at the end of their working hours that they have been completed as planned.
To do this, the employee clicks on ‘Record time’ in the yellow time tracking box on the home screen and uses a QR code scan or NFC to record the object in which they worked. The employee then confirms the target time by clicking on ‘Yes, that's right’.

When confirming, the employee can also correct the duration upwards or downwards. A comment must be added to this correction in order to save the time.
If no work is planned, e.g. because a staff member has been taken on as a stand-in, a time can still be entered. After clicking on ‘Confirm time’, the duration is entered directly and must be provided with a comment in order to save it.
Record times manually
You can specify in the system whether or which employees can also record times manually. If this is enabled, the employee will see a "+Record time" button on the home screen of the Blink me app or a green "+Time" button at the top right of the time page.
If the employee clicks on this, a dialogue for object selection opens. Depending on the settings, an object can then be selected from a list or assigned via QR code scan or NFT.
In the next dialogue for time tracking, the employee can
select the service activity (if service activities have been assigned to the object),
select the date (max. back to the 1st of the previous month, from the 11th only to the beginning of the current month) and
set the time.
.png?inst-v=626292b7-f004-4e9a-9181-fd89557bc8a3)
The system calculates and displays how many hours have been recorded with this entry and also how many hours may have already been recorded for the day. The entry can then be saved by clicking on ‘Confirm’.
If you activate the ‘Record another time for this object’ button beforehand, the dialogue with the selected object remains open after saving and another time can be recorded.
The time tracking options described here all refer to time tracking with the Blink me app. In addition to the app, there are other time tracking methods, e.g., via terminal or telephone. You can find more information here (only in German).